On a [Sausage] Roll
Today we're making a Grandma recipe, from Scratch!
Sausage Rolls!
Truthfully I didn't like these at all when I was a kid, but now I don't make them often because I just want to eat the whole batch when I do.
Typically the EASY recipe is:
Sausage Rolls
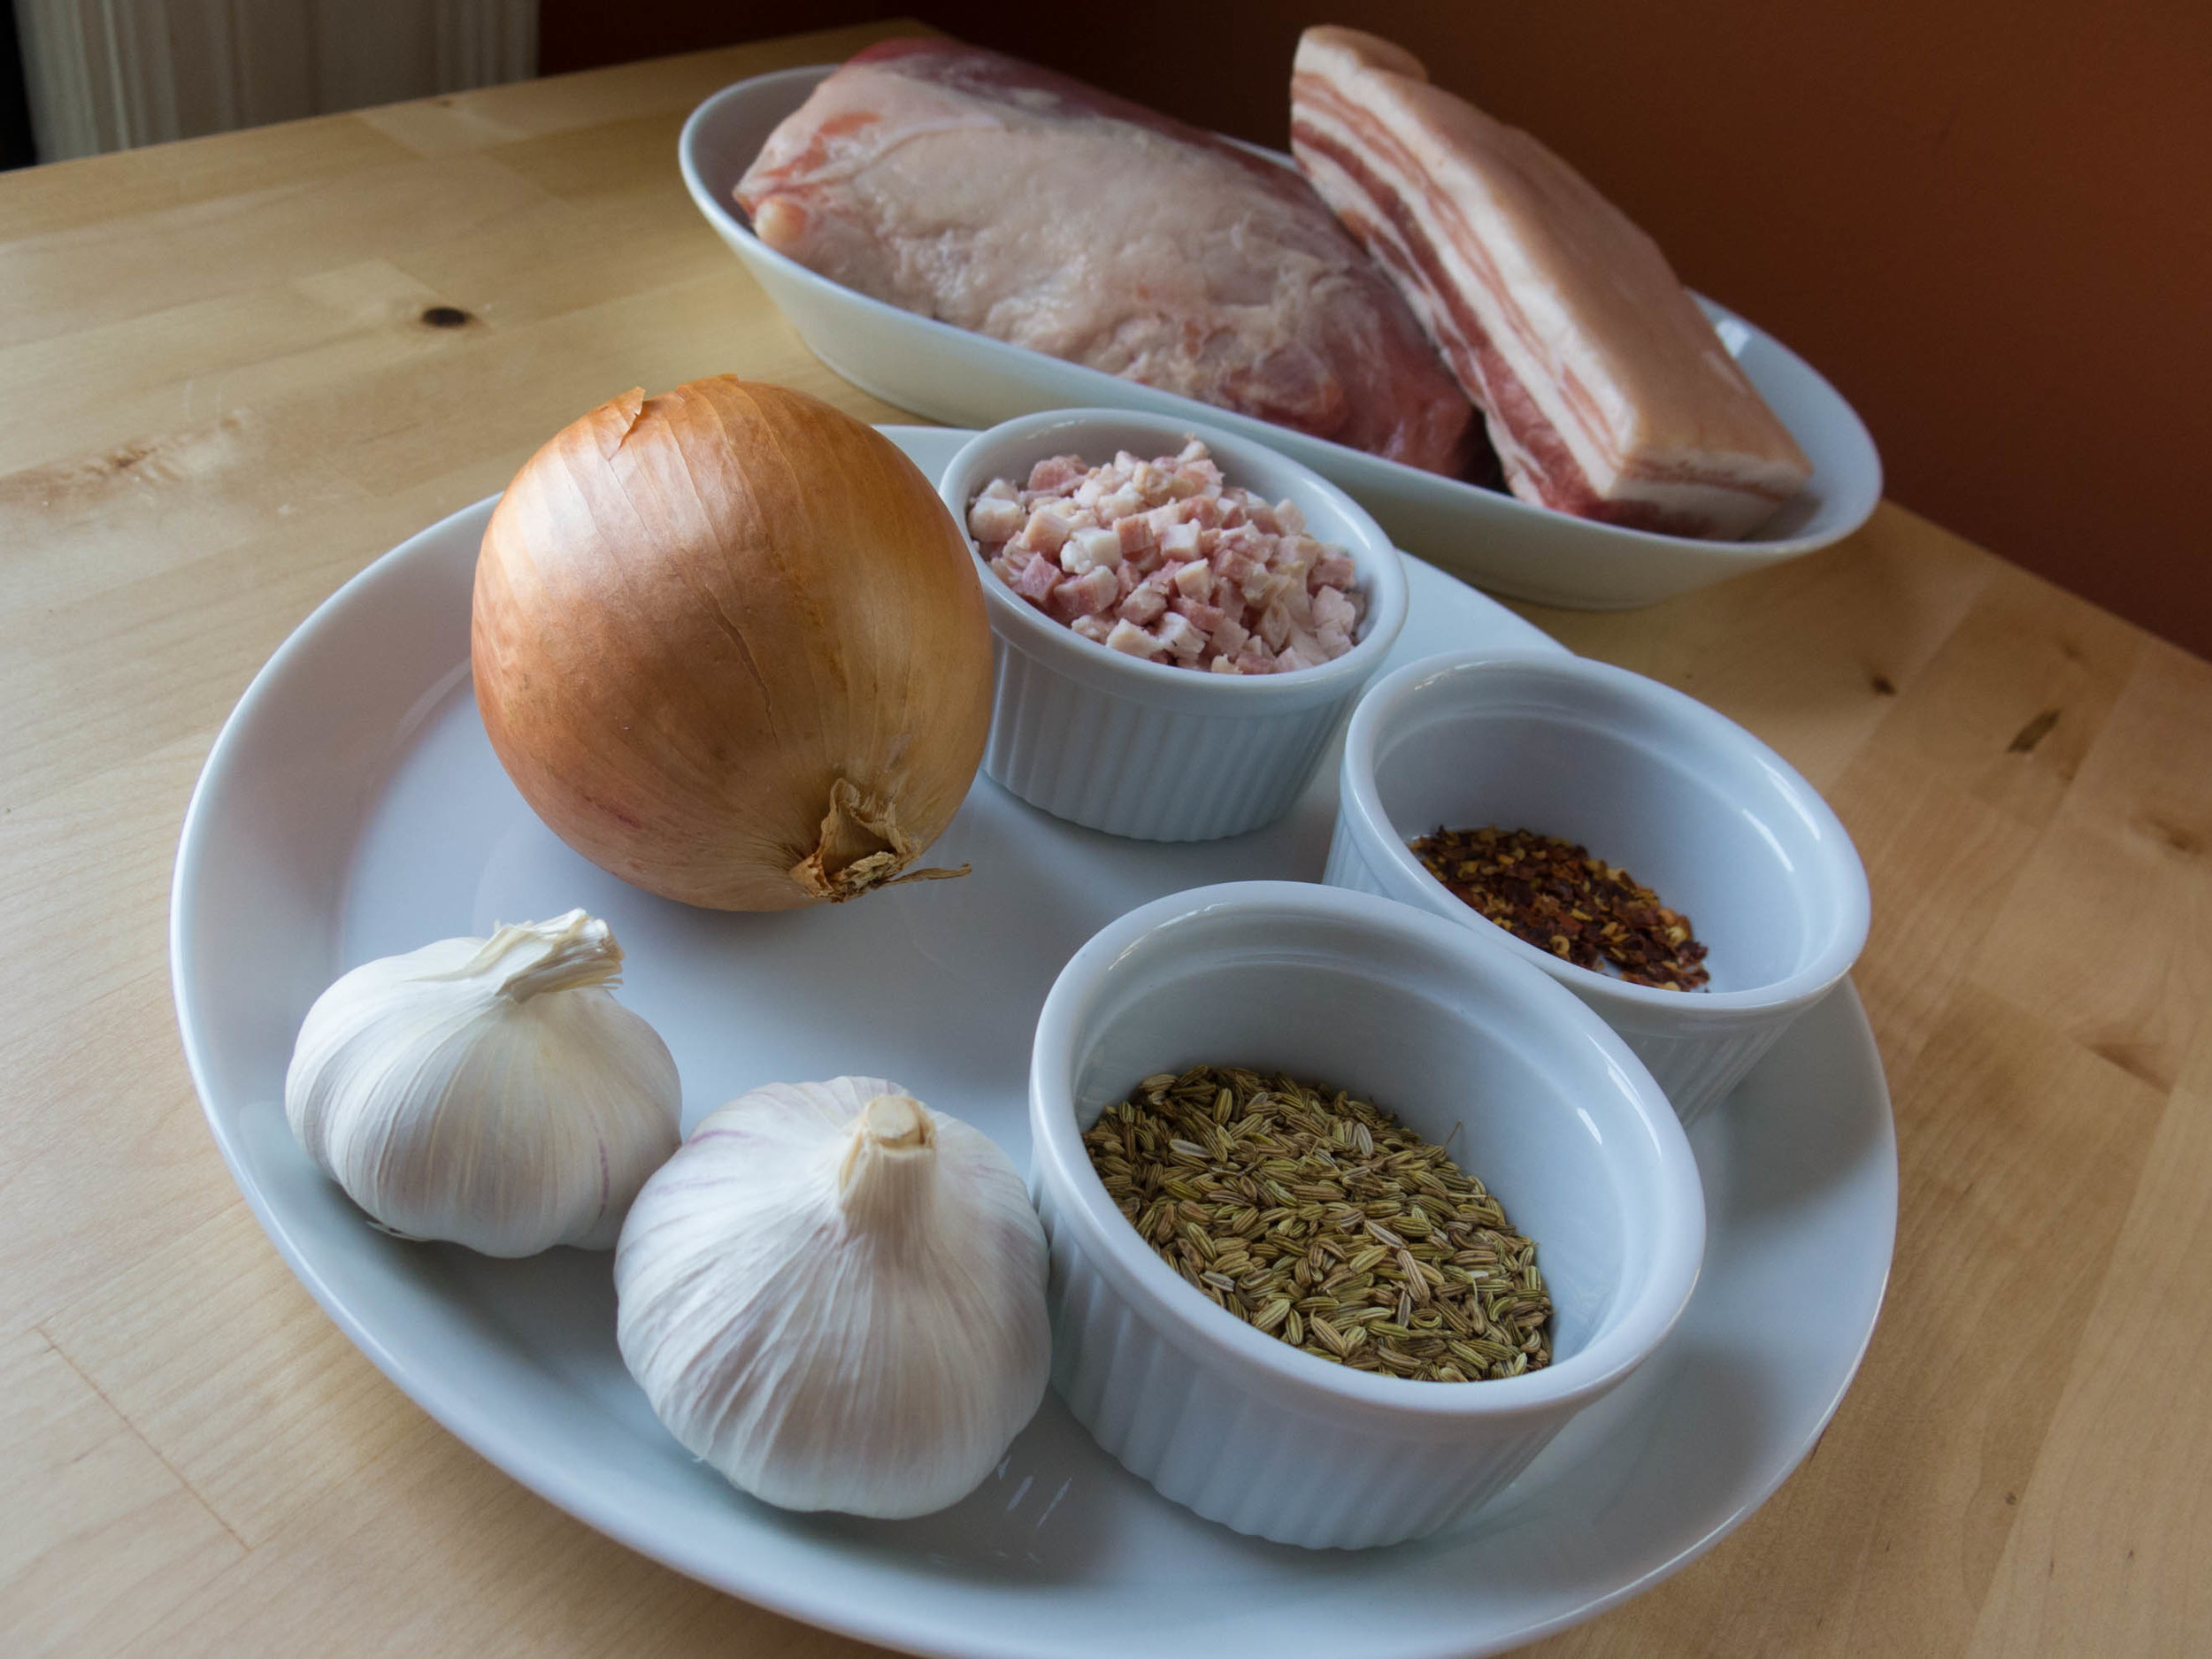
- 1 lb pack of Italian Sausage, Sweet, Mild or Hot. Get the formless forcemeat, it's easier than cutting it out of casings
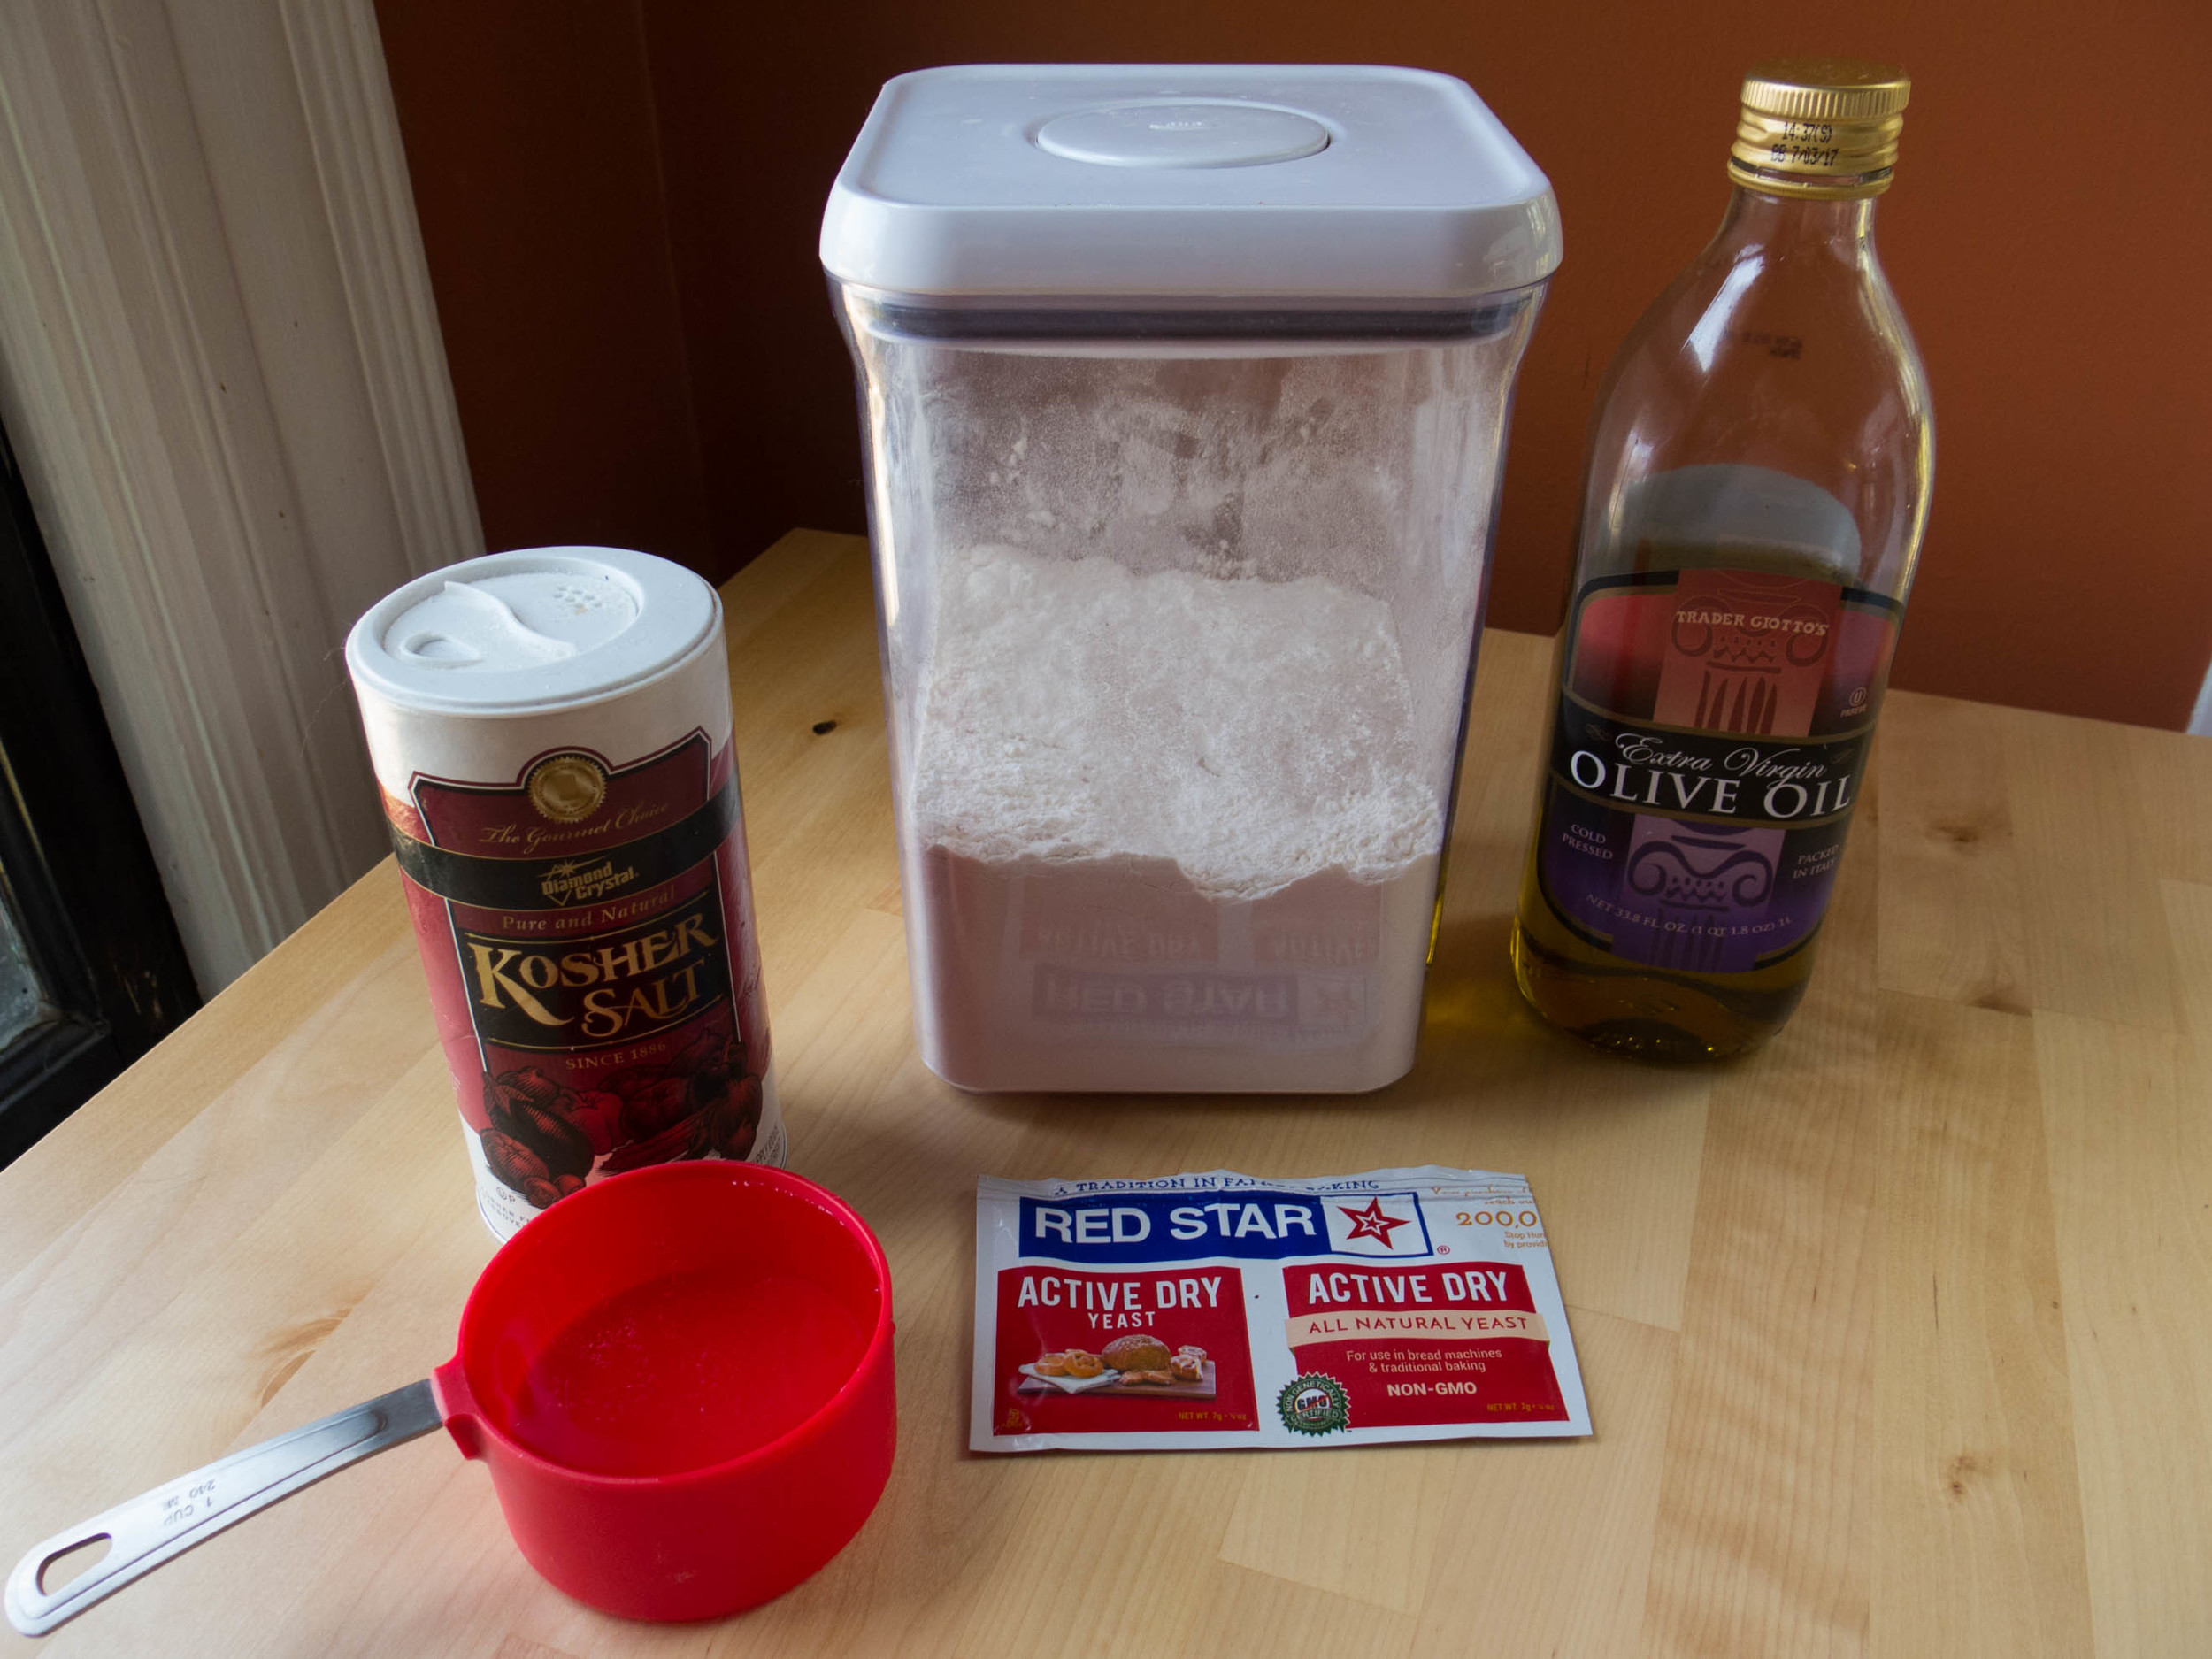
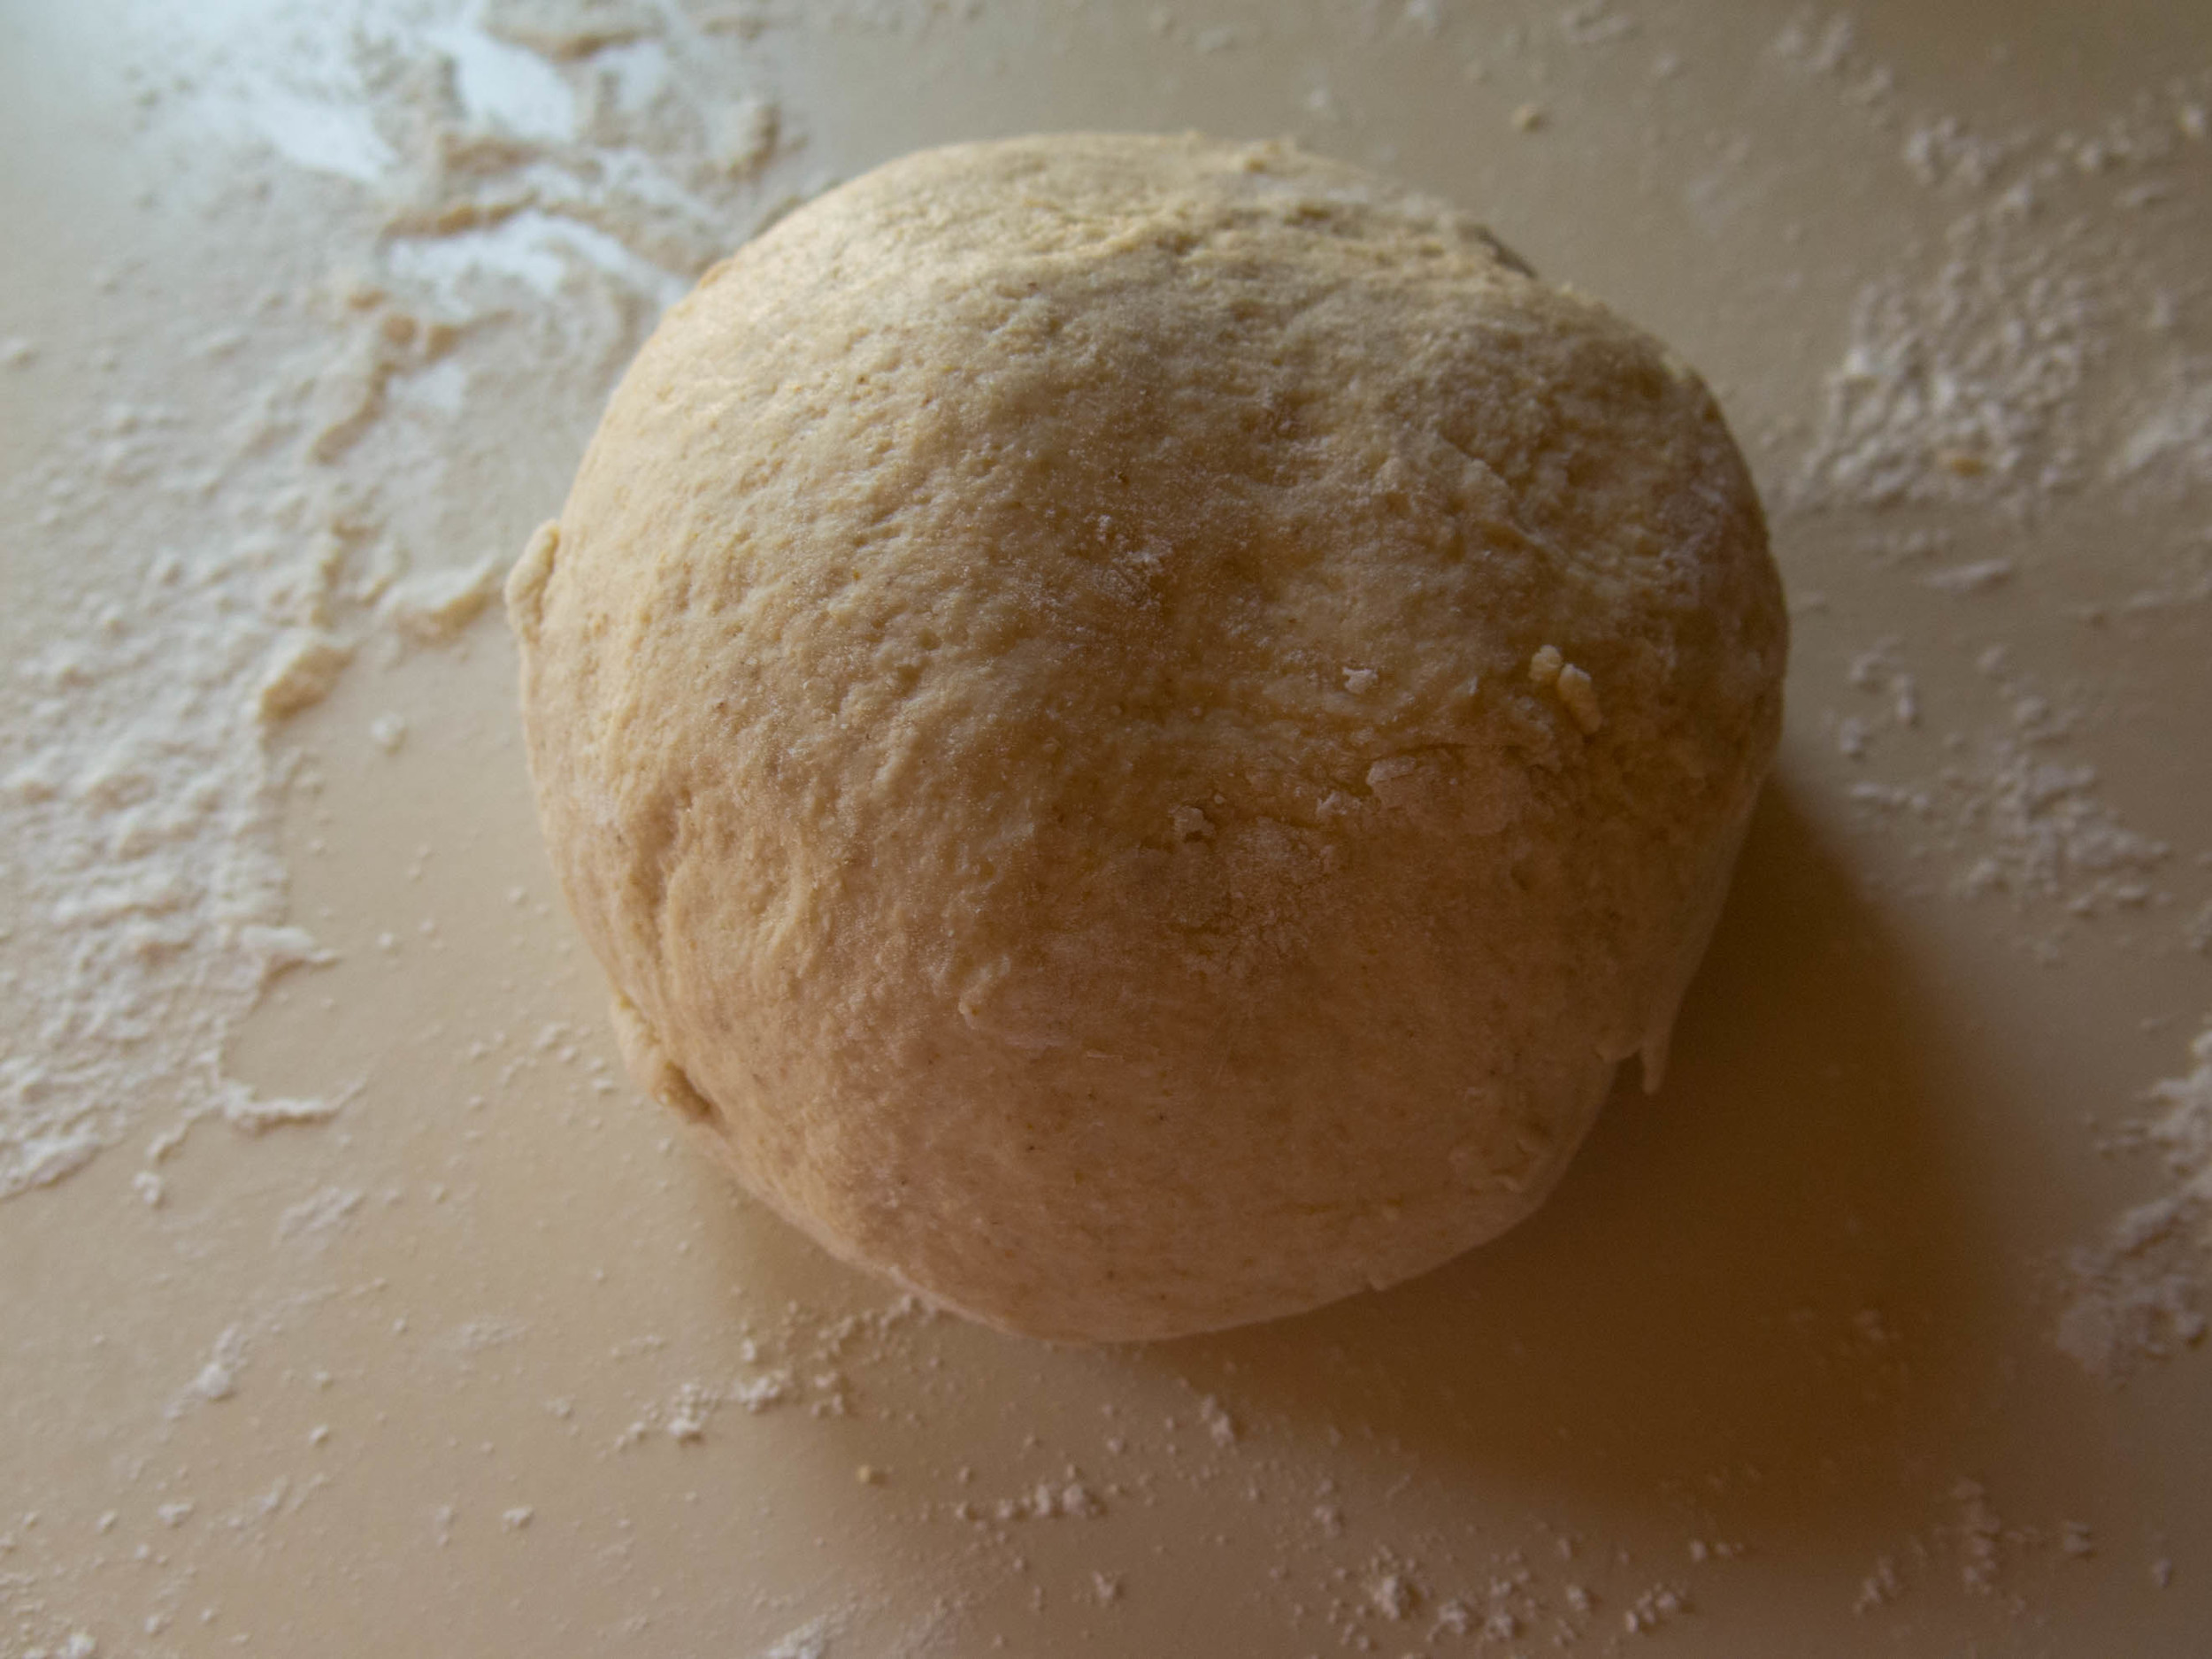
- 1 bag of Pizza Crust Dough
- Olive Oil
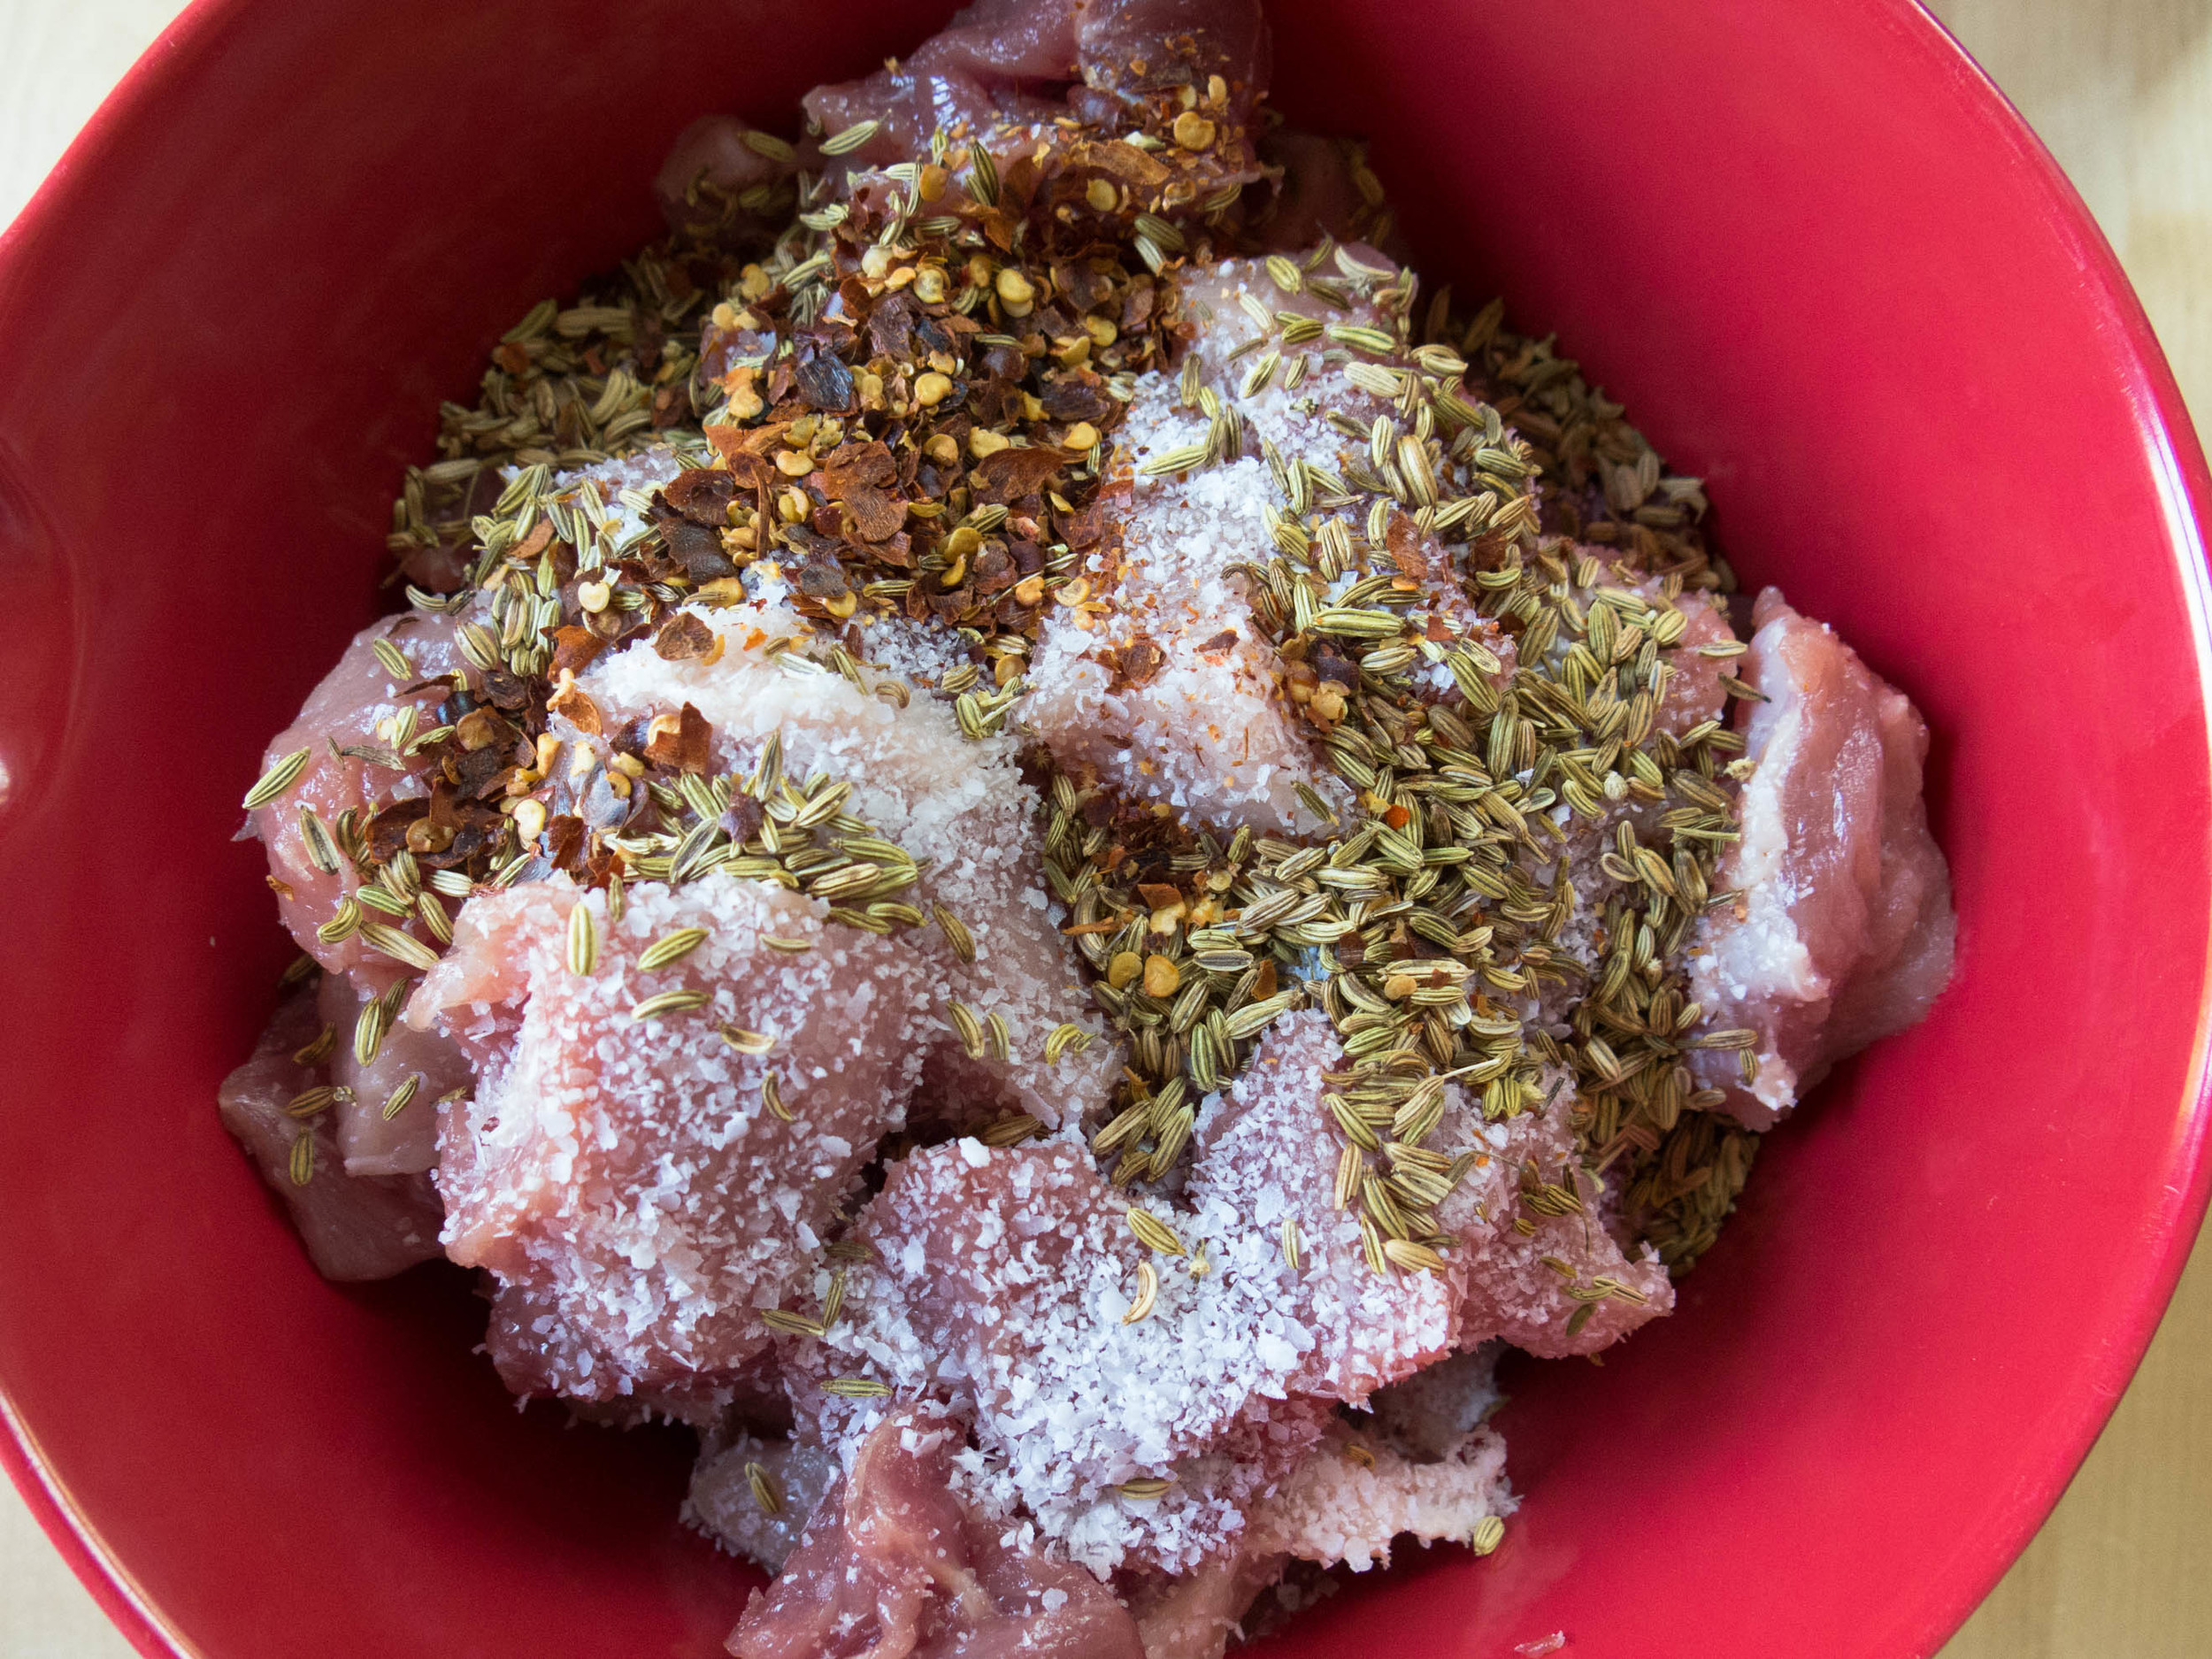
- Red Pepper Flakes
- Anise or Fennel Seed
- Preheat the oven to 350F, lightly grease a cookie sheet
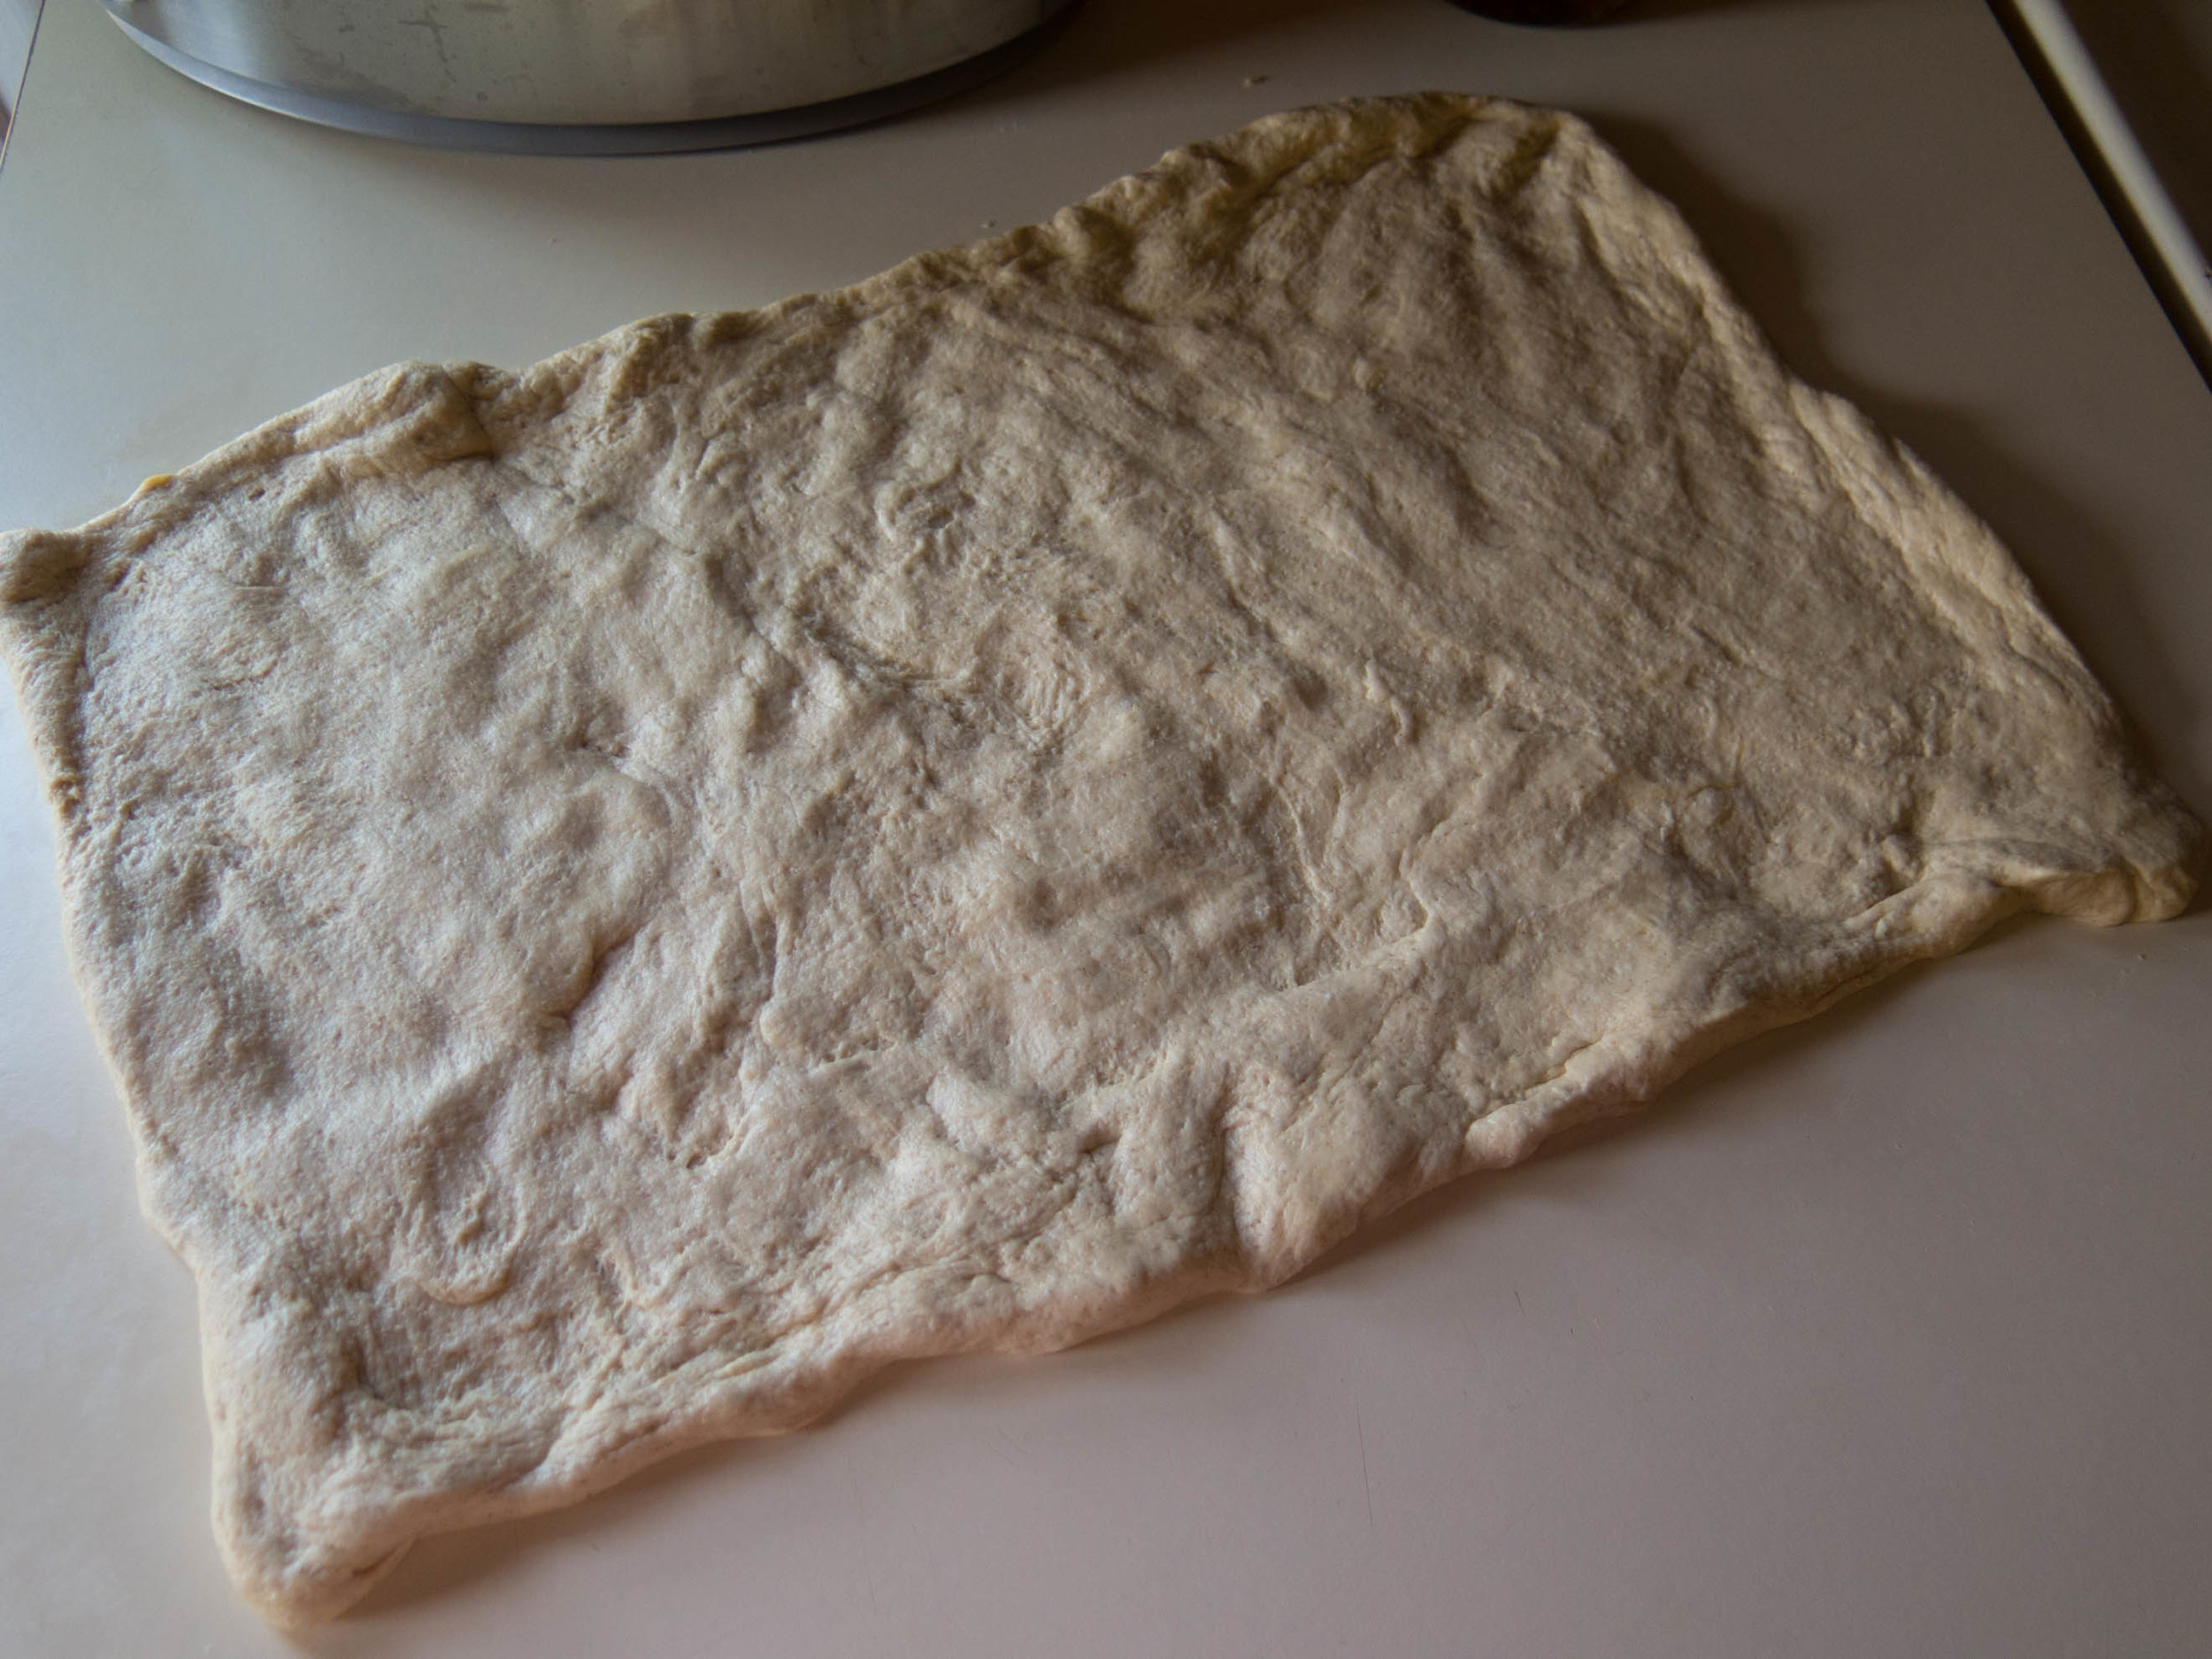
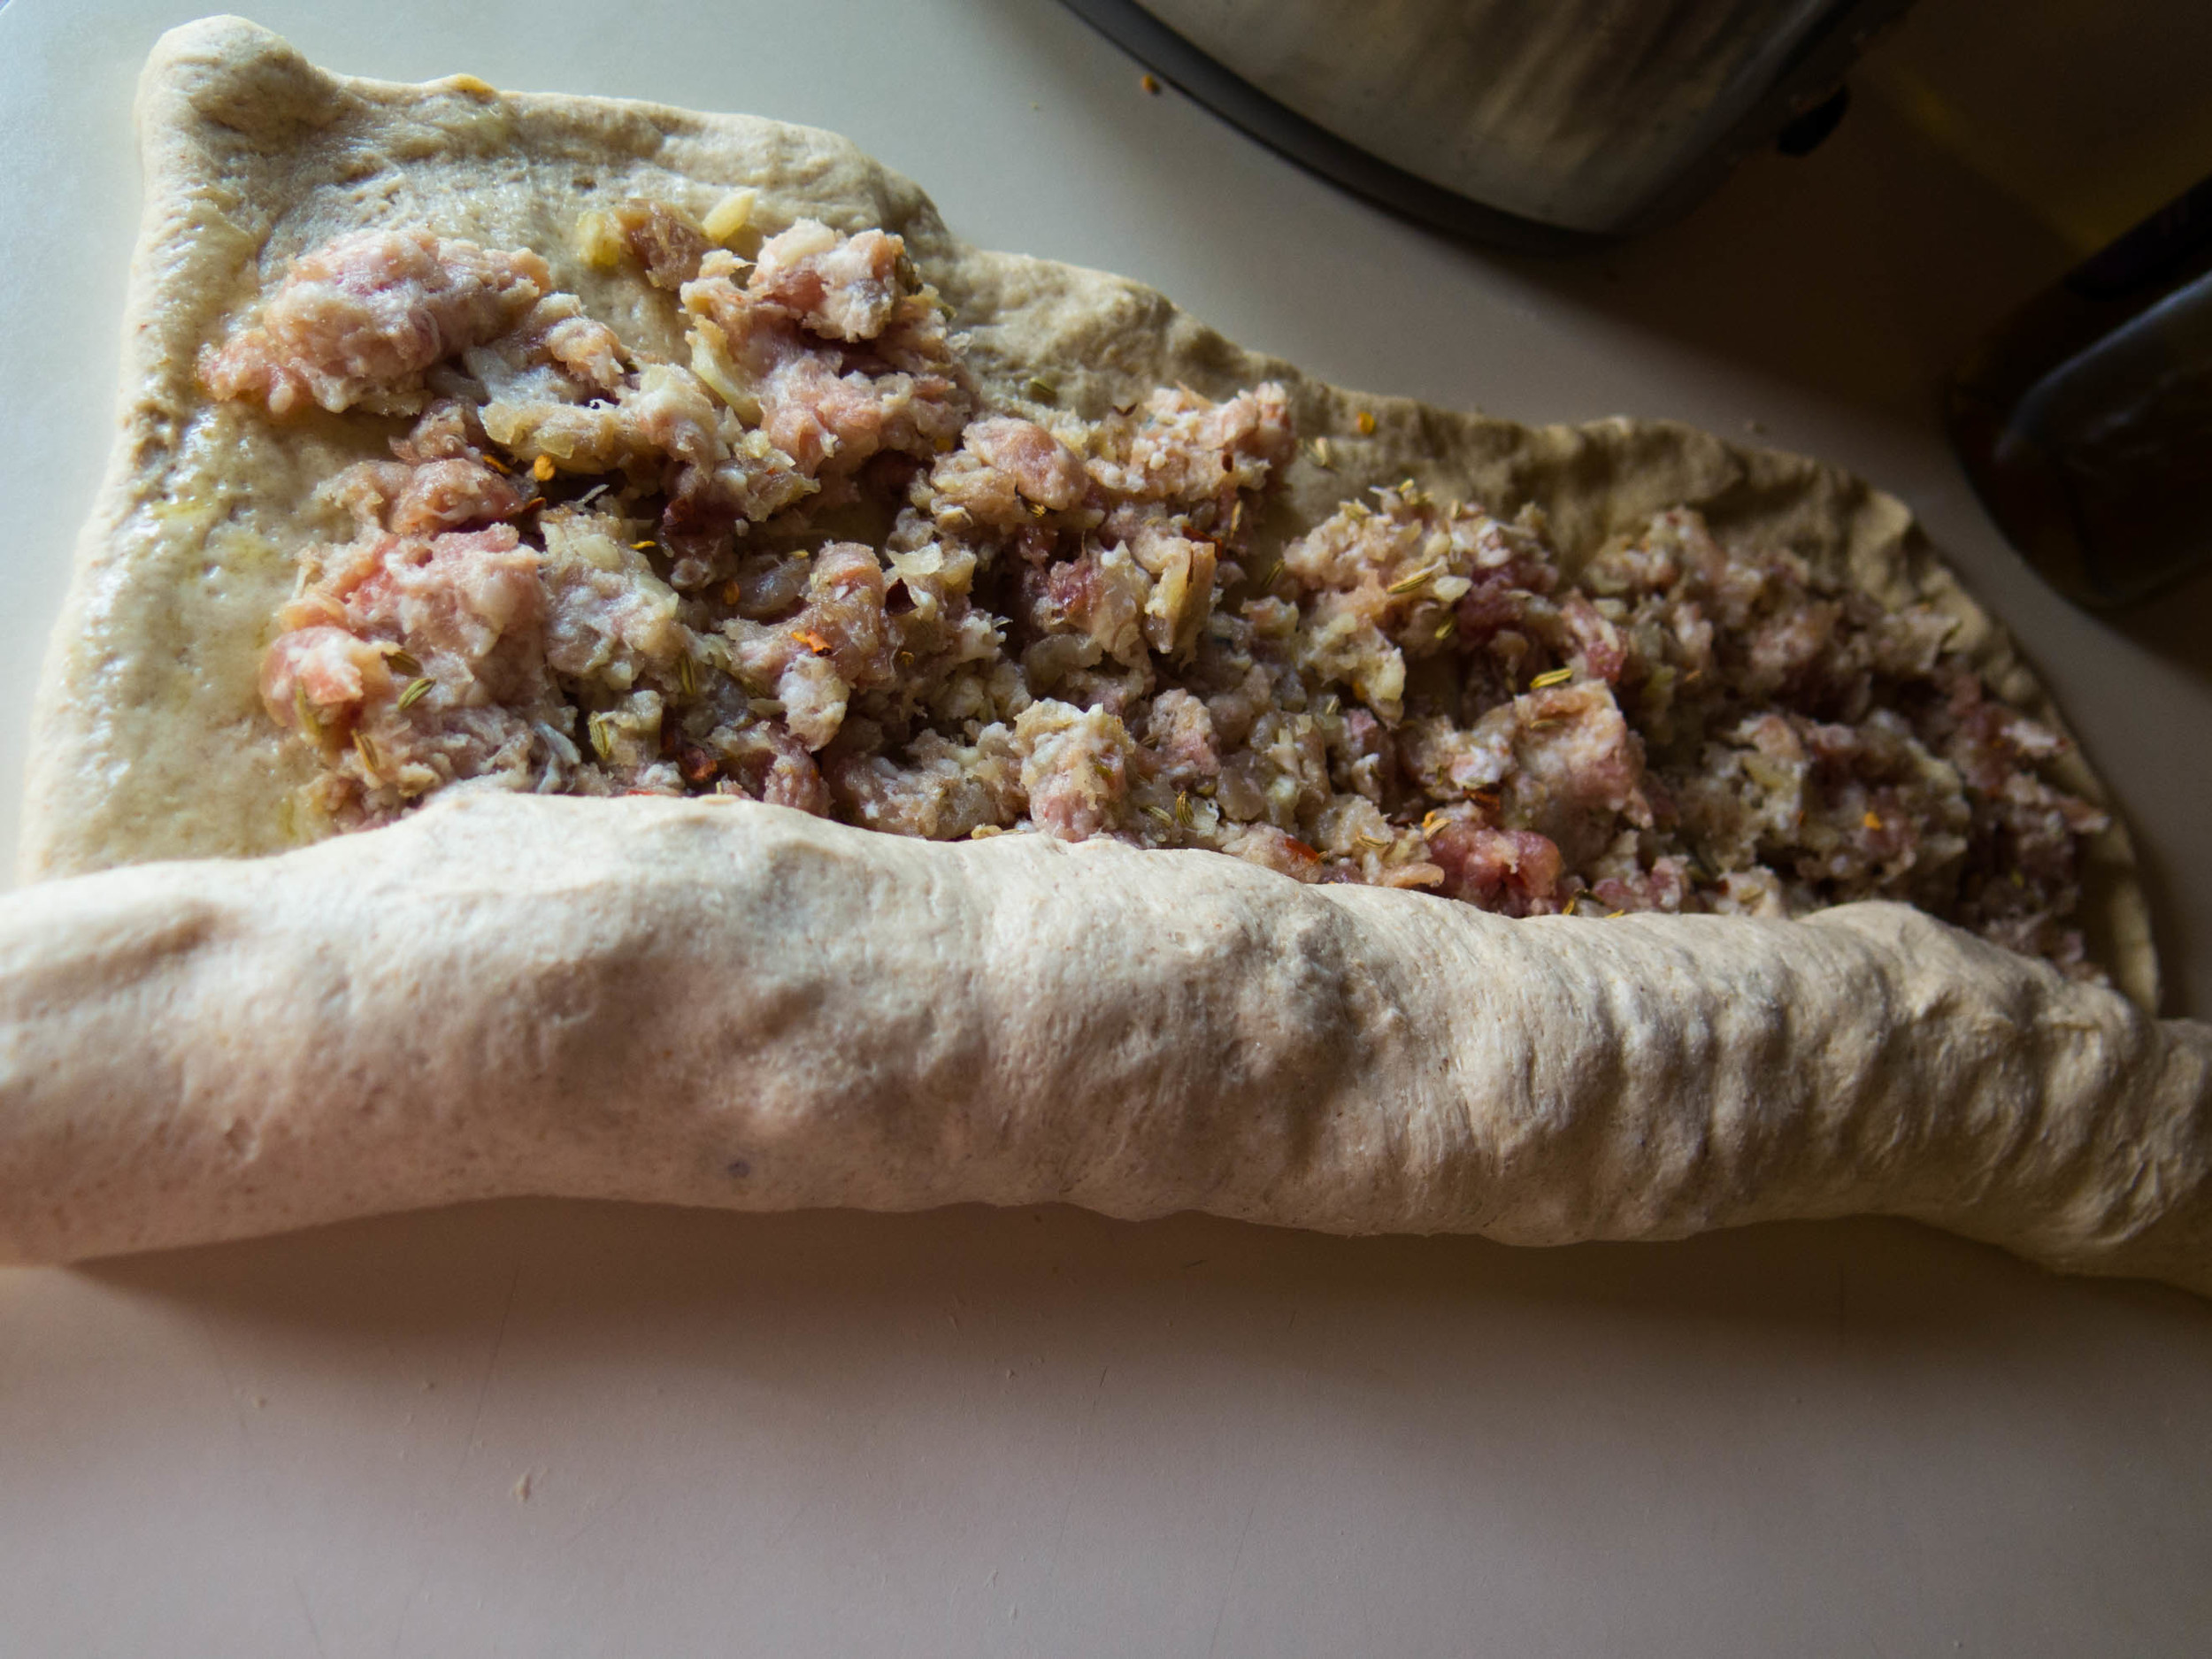
- Roll out the dough into a rectangle, somewhat thin.
- Rub it down with olive oil.
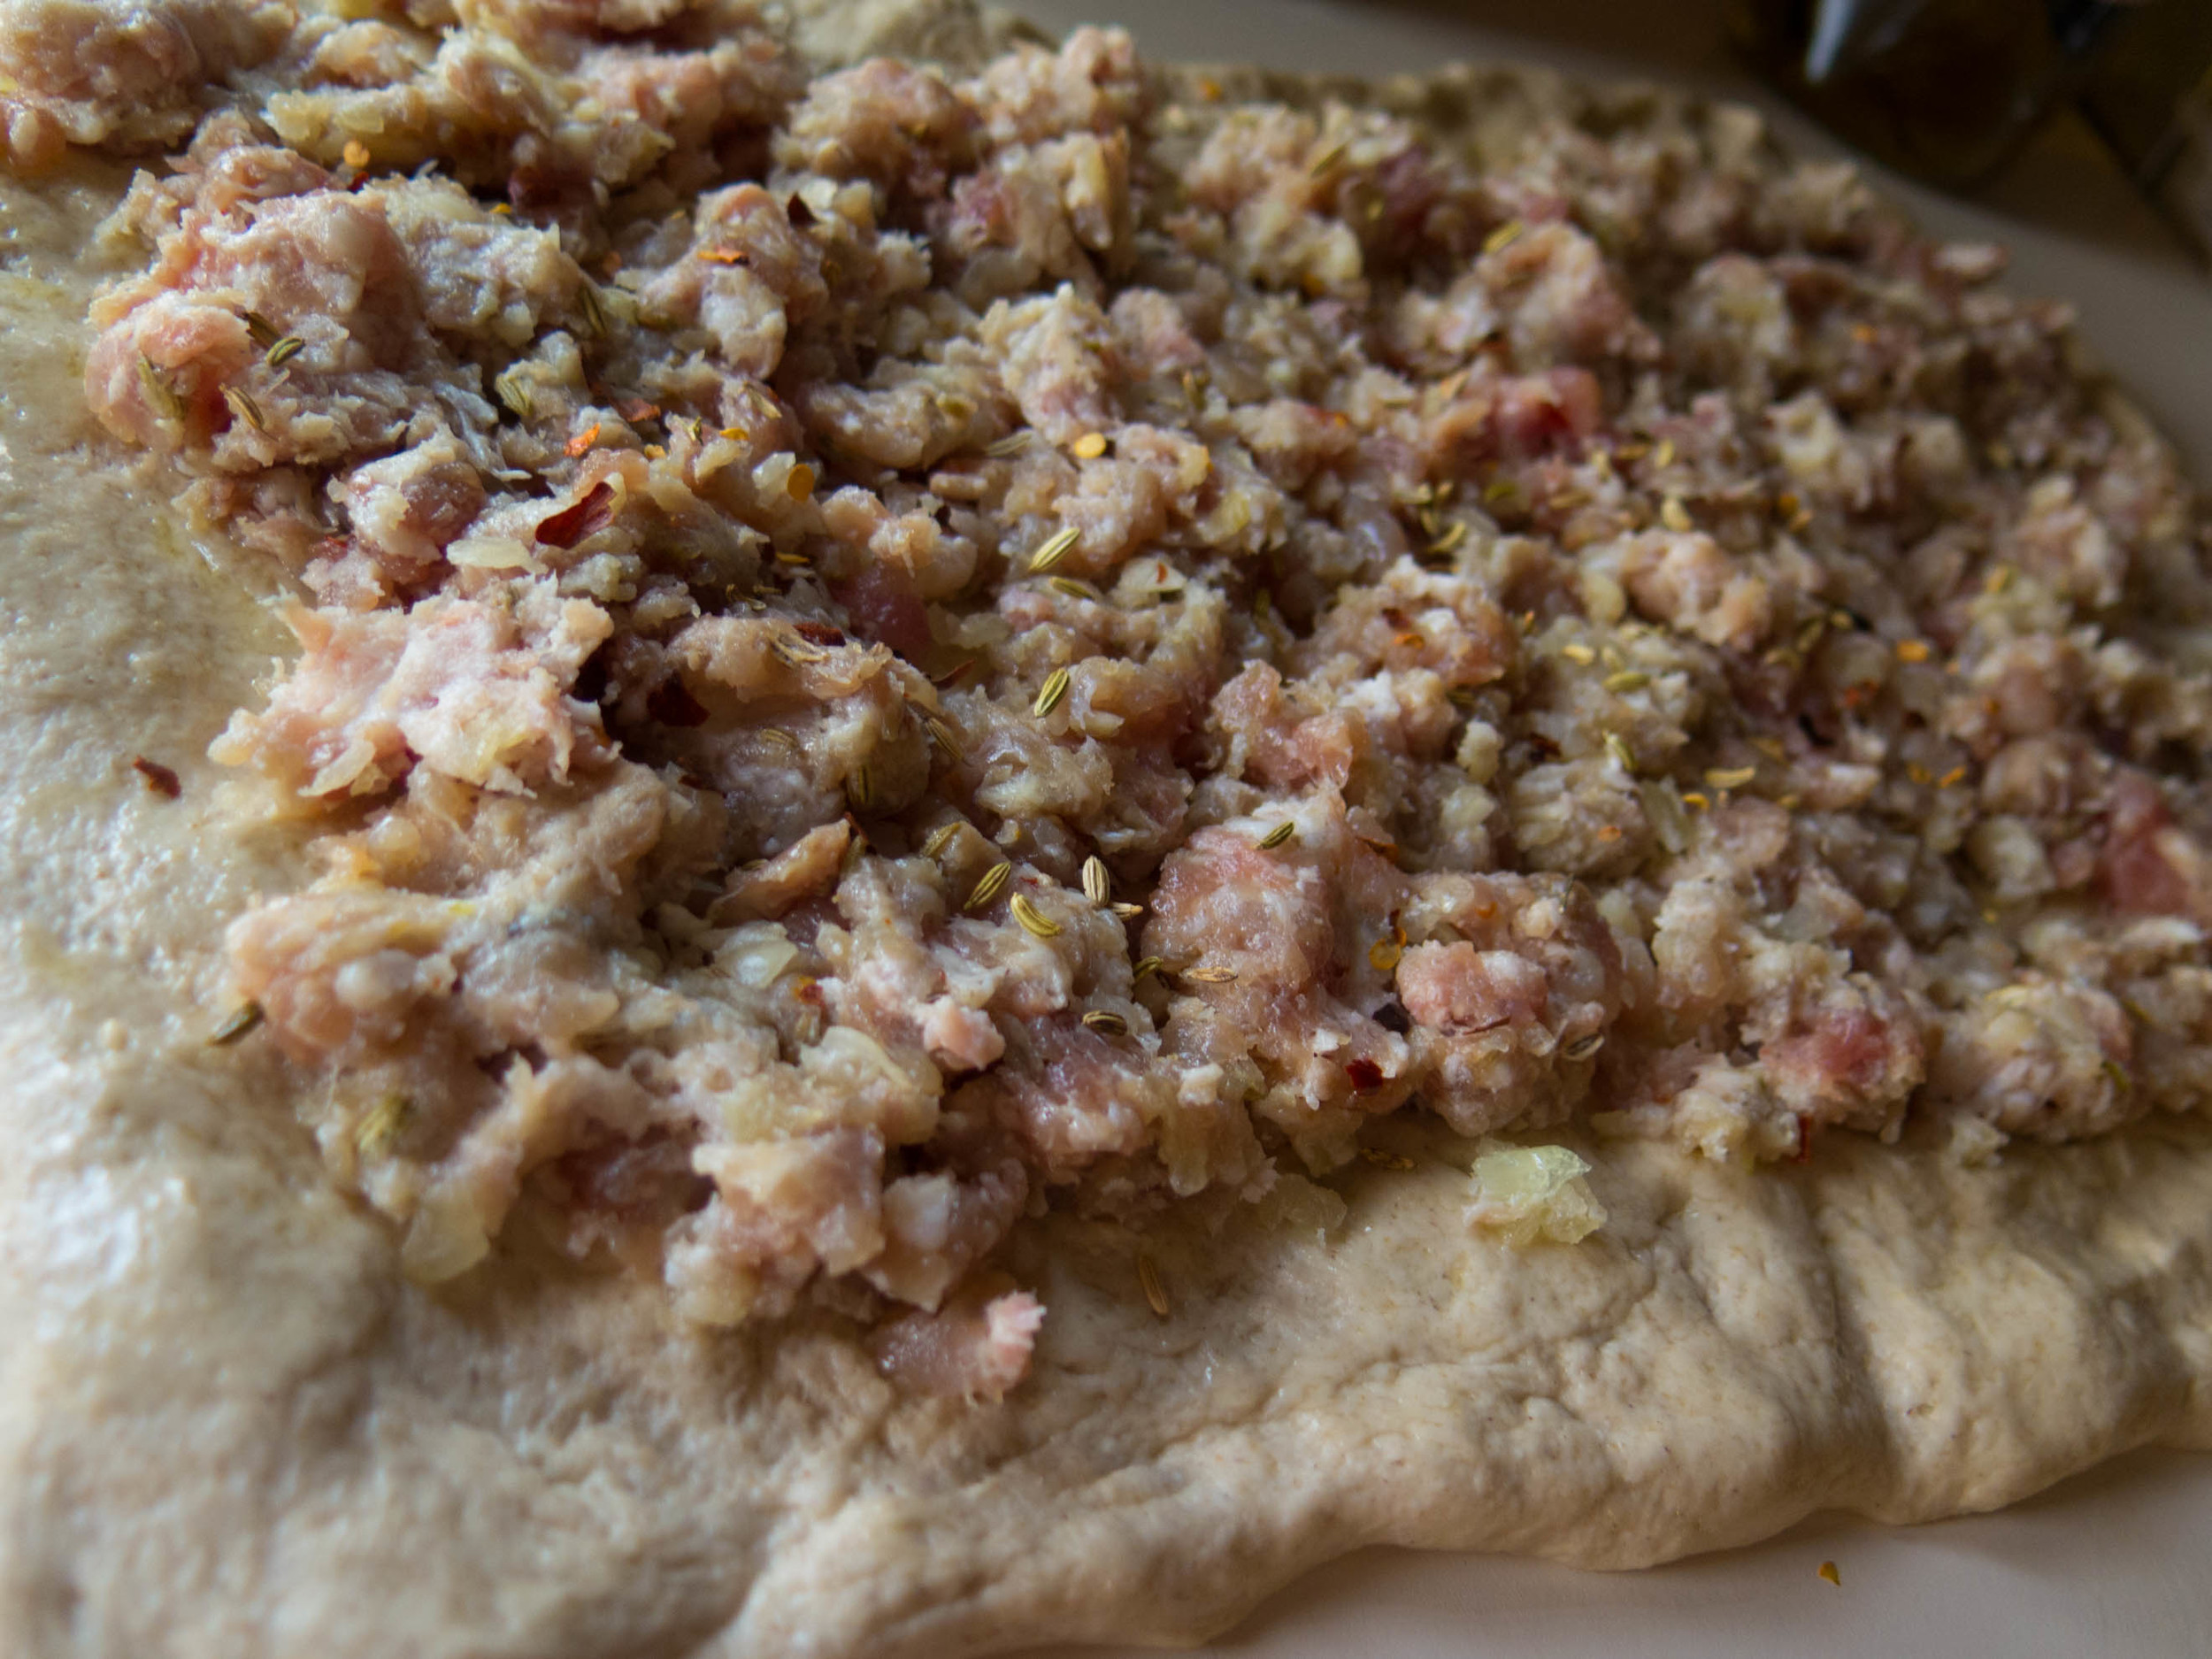
- Season it with red pepper flakes and anise or fennel seed if you want.
- Evenly spread little sausage nuggets across the oiled surface. It's messy.
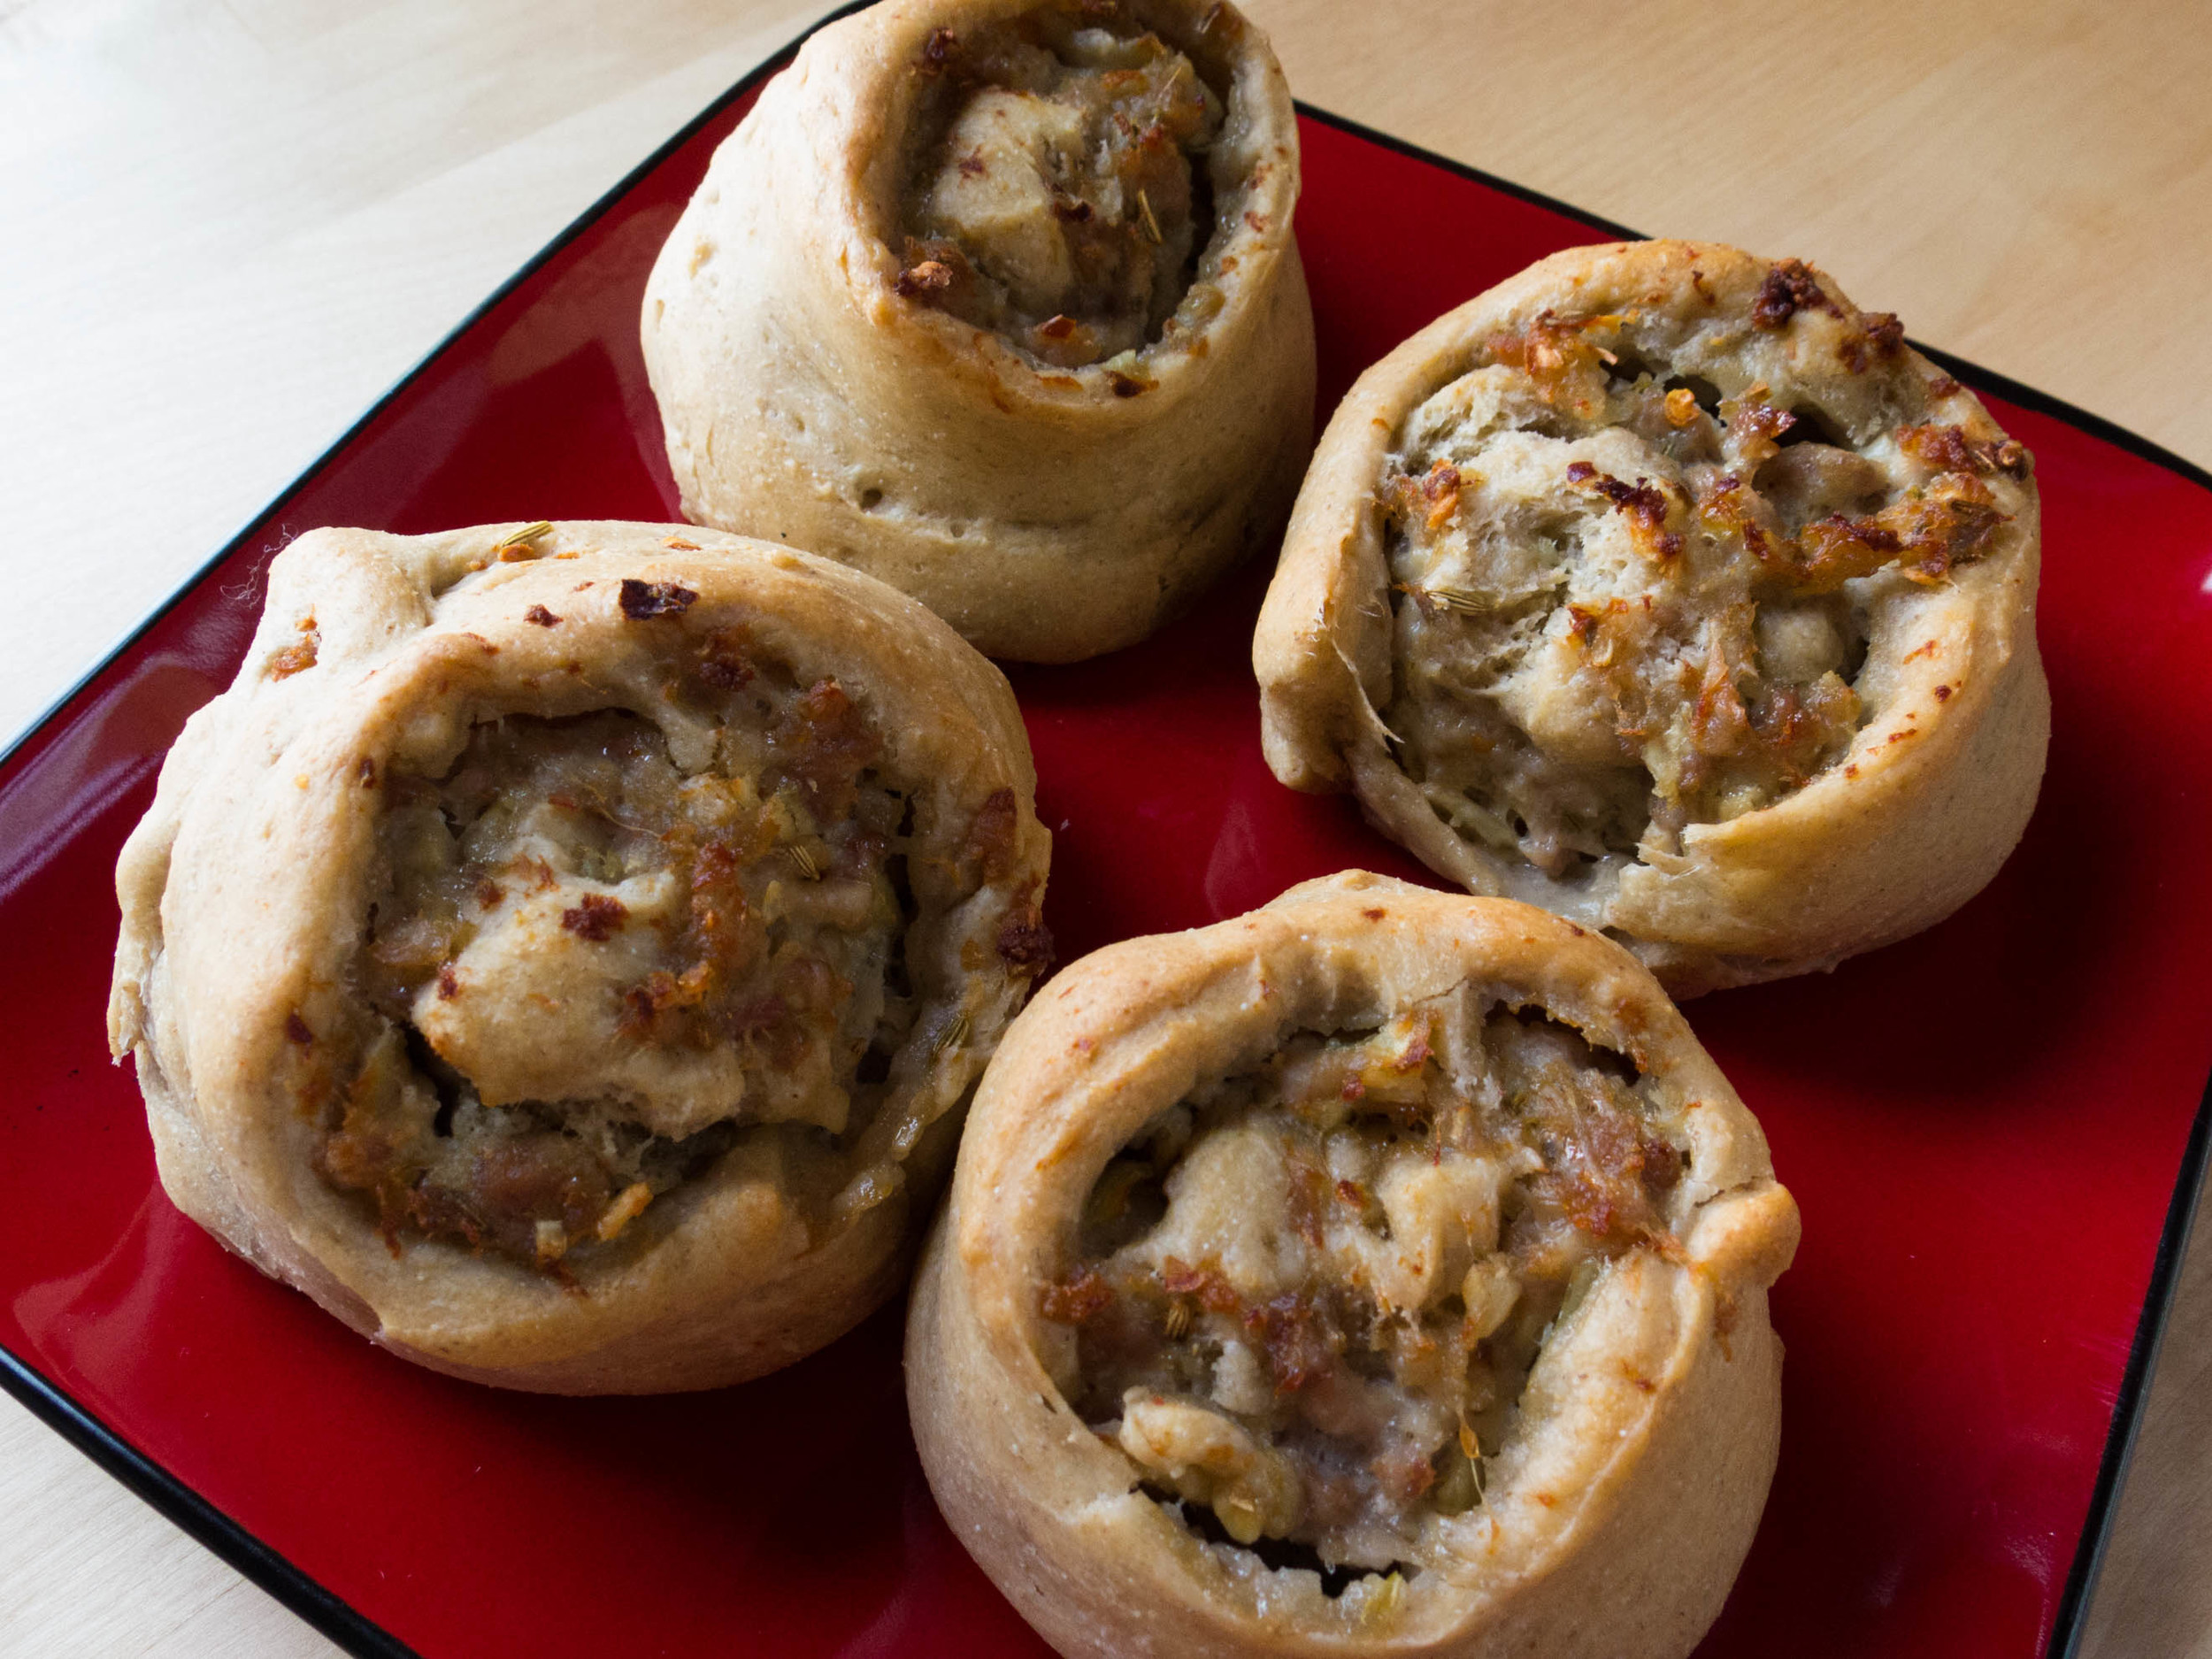
- Roll tightly and slice into 1.5" pieces
- Set onto the cookie sheet, cut sides vertical.
- Bake for 25 minutes? or until golden brown.
- Eat em hot or cold!
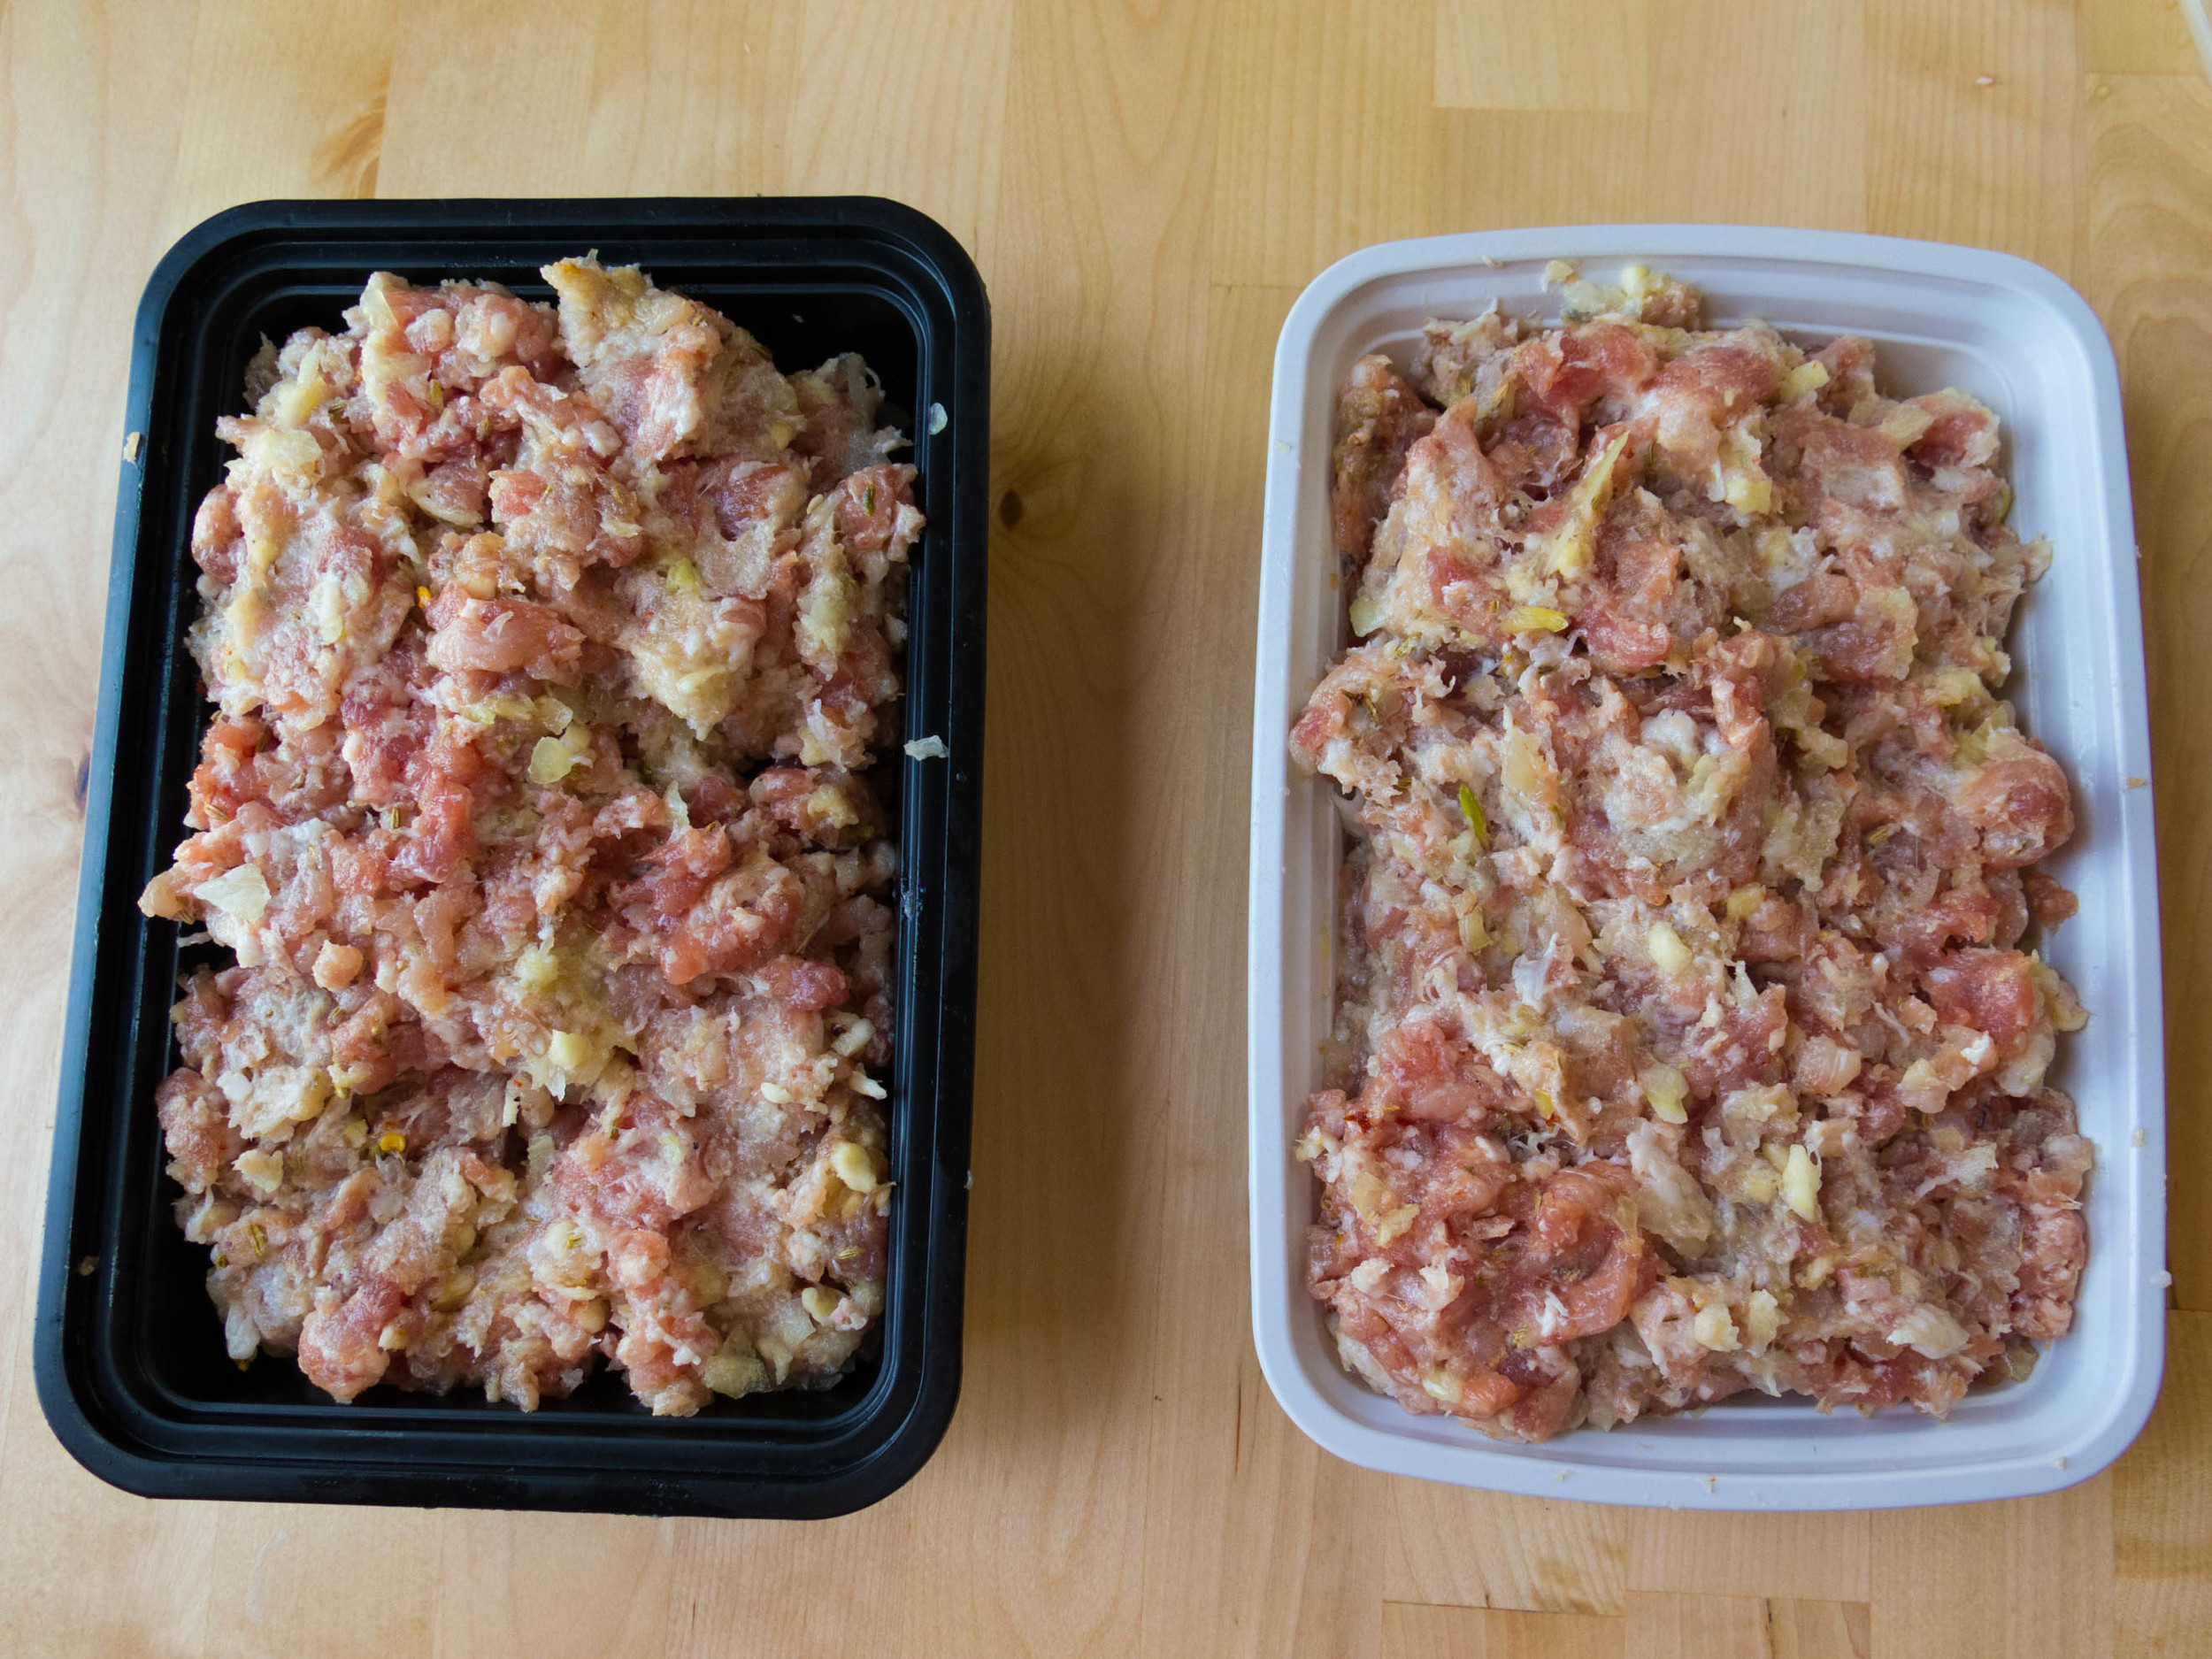
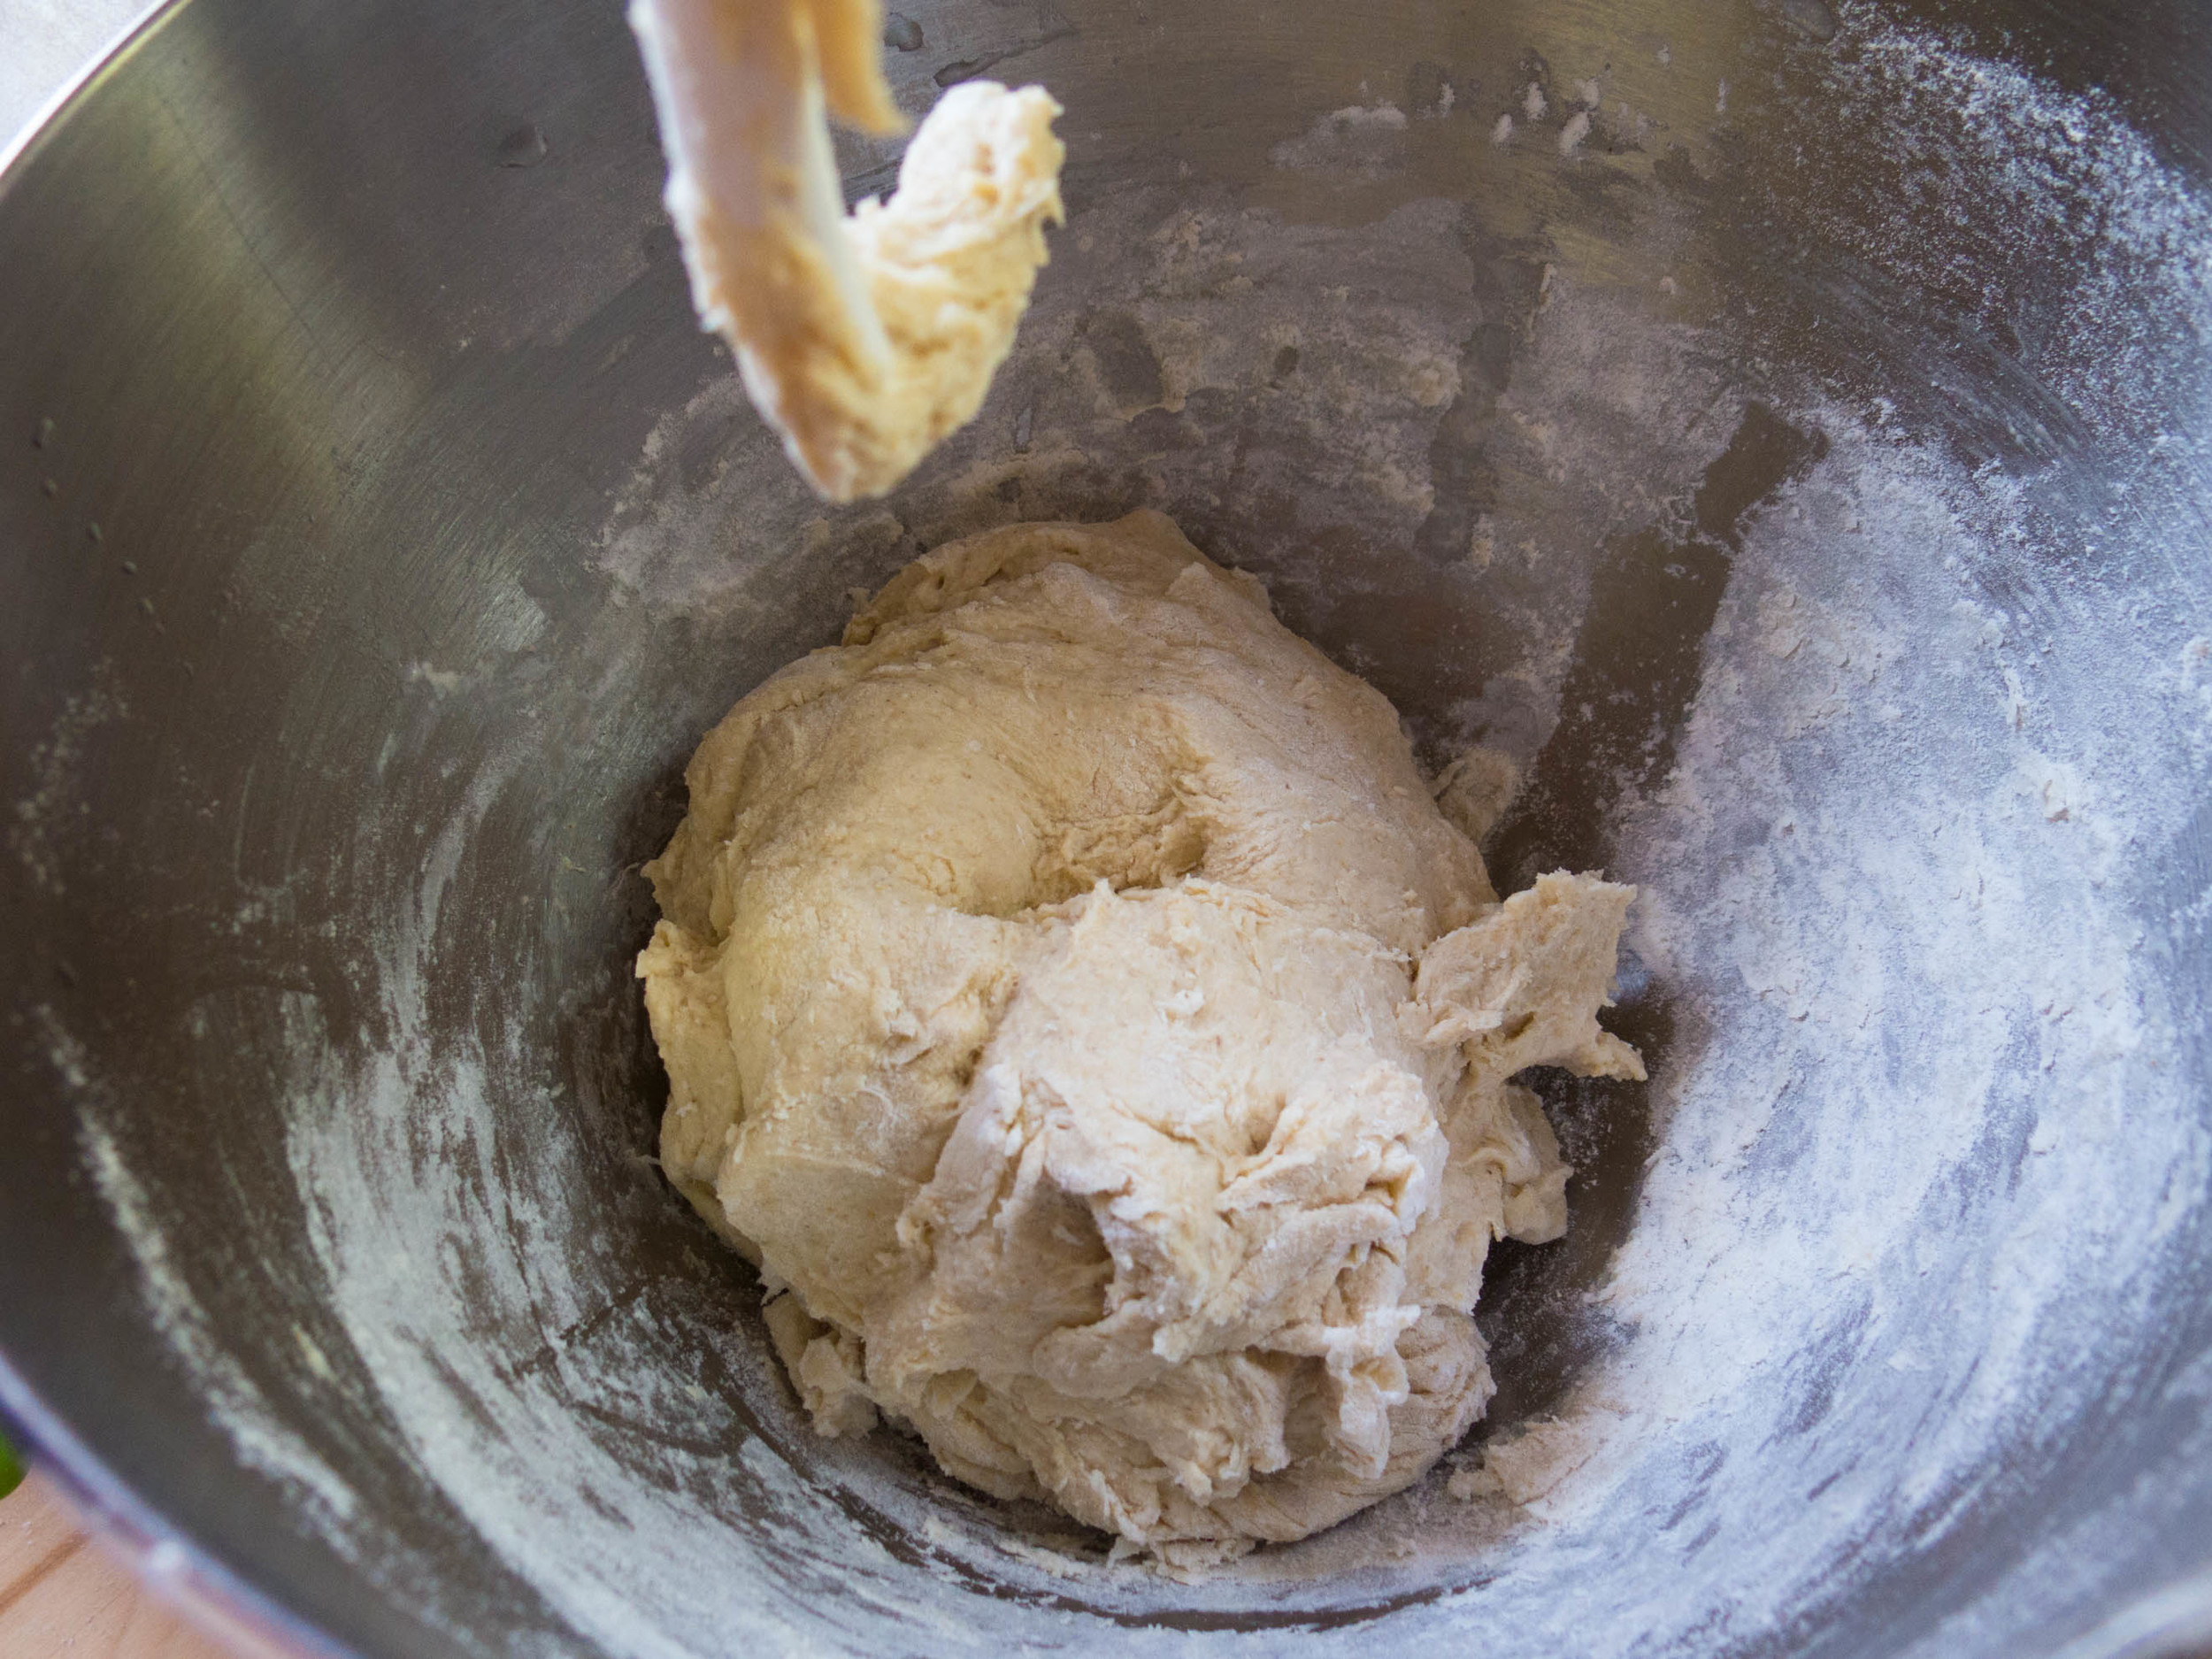
Or be like me and buy a meat grinder attachment for your KitchenAid. I used the Italian Sausage recipe from The Wurst of Lucky Peach (use link below to help me financially! I'm unemployed!)
I didn't like them :| Tom did, because the sausage wasn't overly-italian-y. It was a good exercise in learning how to grind meat, but in the future I'm going the lazy route and just buying a styrofoam tray of sausage. At least until I get better at homemade sausages.
And if you're a fan of Sausages AND Video Games, check out Stephen's Sausage Roll!